Planning and Design
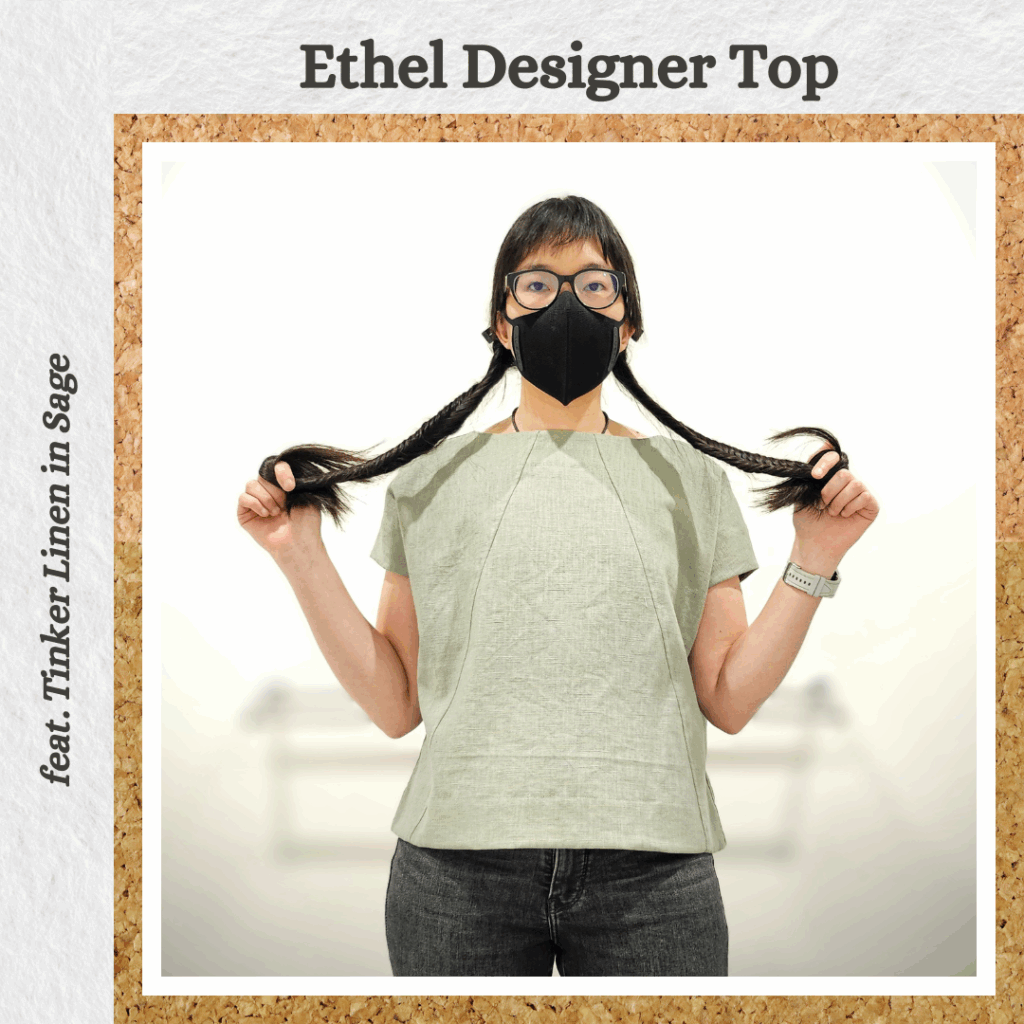
The first piece in my coordinated wardrobe project 😊 I knew I wanted to make the Ethel Designer Top in a sage colour. Originally it was going to be made using cotton linen from Spotlight. But in the time between buying that fabric and me finally being ready to make this, I had decided that I wanted to focus on using good quality fabrics. The cotton linen won’t go to waste, I plan on using it to make wearable toiles, but I ended up buying some Tinker Linen from Miss Maude’s instead because the colour was very nice and it was a natural fabric.
Materials
- Pattern:
- Ethel Designer Top (Style Arc)
- Fabric:
- Sage Tinker Linen (Miss Maude)
- Thread:
- Rasant col. X0651
Sustainability Check
I was wondering what makes it ‘Tinker’ linen, like is it a construction or weave thing, or a source country thing? But seems like Miss Maude is the only place that sells it and they describe it as “a range of slightly heavier weight pure linen”. So basically a type of heavy linen? 🤔
👍 Since it’s 100% linen that makes this biodegradable
🤏 Rasant thread is OEKO-TEX® certified but not biodegradable
Construction
Pass #1
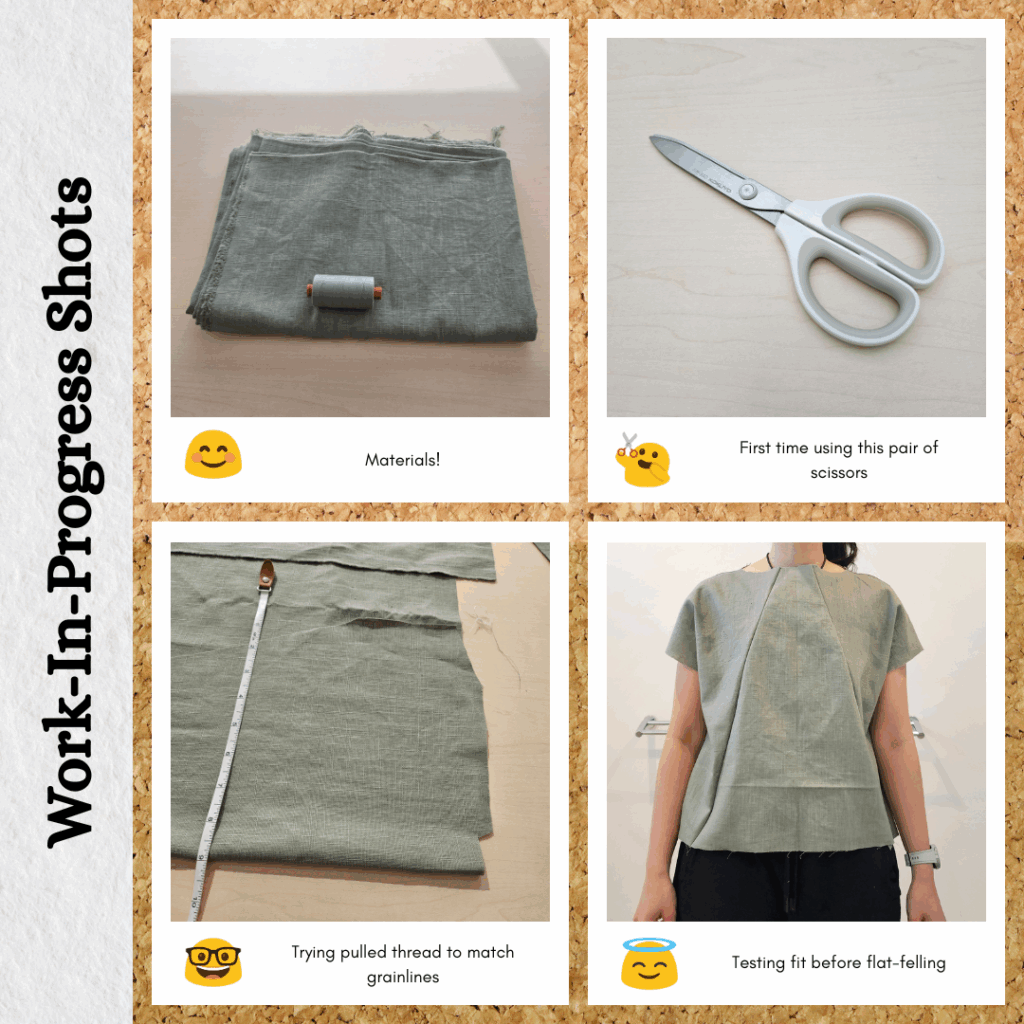
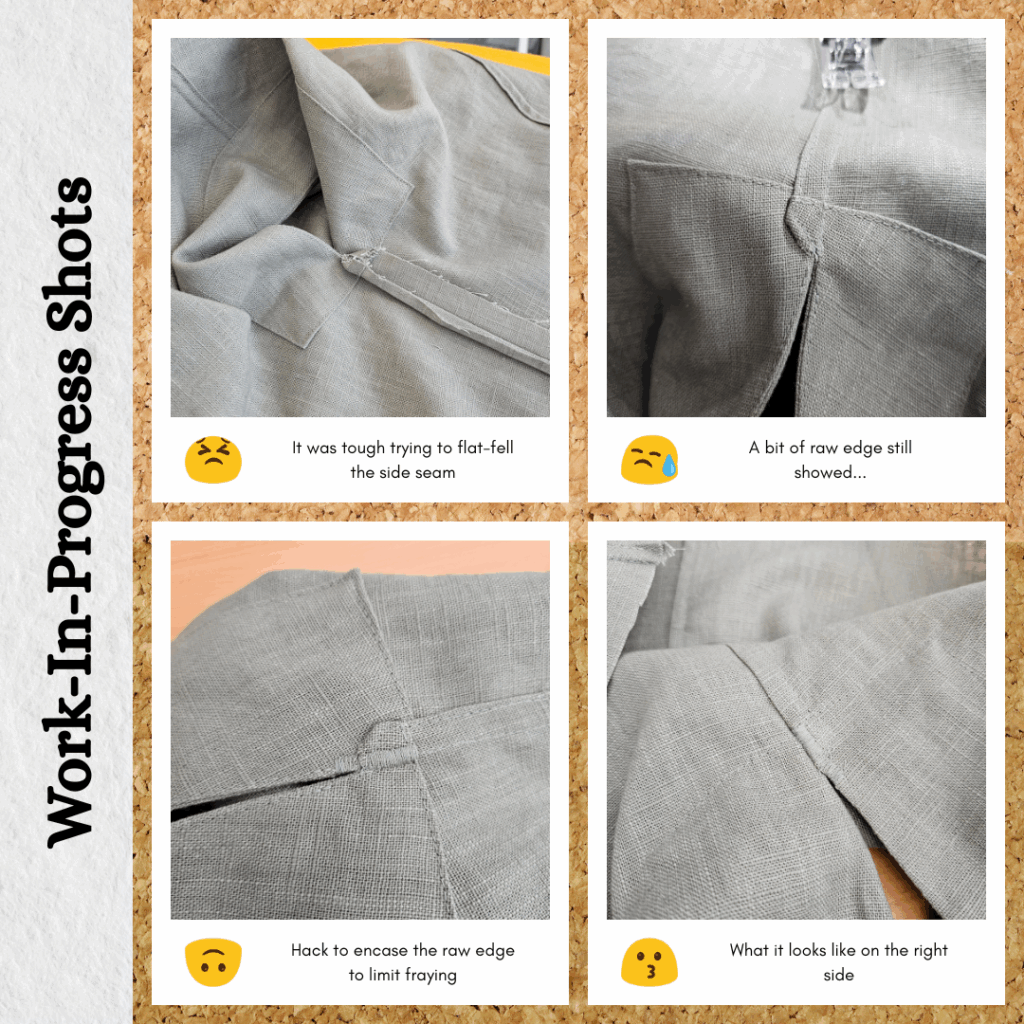
I had done a wearable toile for this and had tested reducing the front panel by 2cm to reduce gape. It ended up being a little too tight on the shoulders. So I thought I’d try compromise and reduce it by 1cm instead. I figured I had enough fabric that I could recut and replace the front panel if it didn’t work out. This meant not flat-felling seams and doing a machine baste stitch on the side seams so I could try it on to test. Luckily it worked out well!
One extra thing I did that I didn’t do on the toile was a zigzag stitch over the side hem at the sleeve opening. Even after folding corners and flat-felling, I felt like there was still a bit of raw edge showing. I wasn’t very worried about the appearance of this (it’s on the inside and under the arm so no one will see it), but since linen frays quite easily I wanted to secure it. One zigzag ended up neater than the other, but same deal, it’s not visible so it doesn’t bother me too much 😁
Marking out every pattern mark was very helpful. Even though this pattern is quite simple in construction, it helped streamline the process even more. In other words, don’t be lazy!
I had a bit of a technology-is-making-me-stupid moment while sewing this 😋 My sewing machine has a very handy thread cutting button. But I want to now snip threads right at the base using my trusty Gingher snippers. I also want the bobbin tail up top when I start sewing cos I’m sick of thread nests. So I was wondering how to get the threads up easily before I start the next seam…where the answer is of course don’t use the thread cutting button, just use the needle up button instead and snip the thread ends myself. Both problems solved! 😅
Pass #2
So this was complete for many weeks but I wasn’t happy with how I mixed up the front and back resulting in the backstitching on the collar facing showing on the front side 😣 It took me a long time to gather the motivation to unpick it and redo.
When I finally got to it I whipstitched the facing down and was glad I did because I got the topstitch settings wrong and had to unpick again and redo. But because of the whipstitching I didn’t have to repin. So I guess it’s basically insurance for me screwing up haha.
Since the backstitching was quite prominent I decided to bring the threads to the wrong side, hand tie knots and hide the tails inside the facing.
Reflections
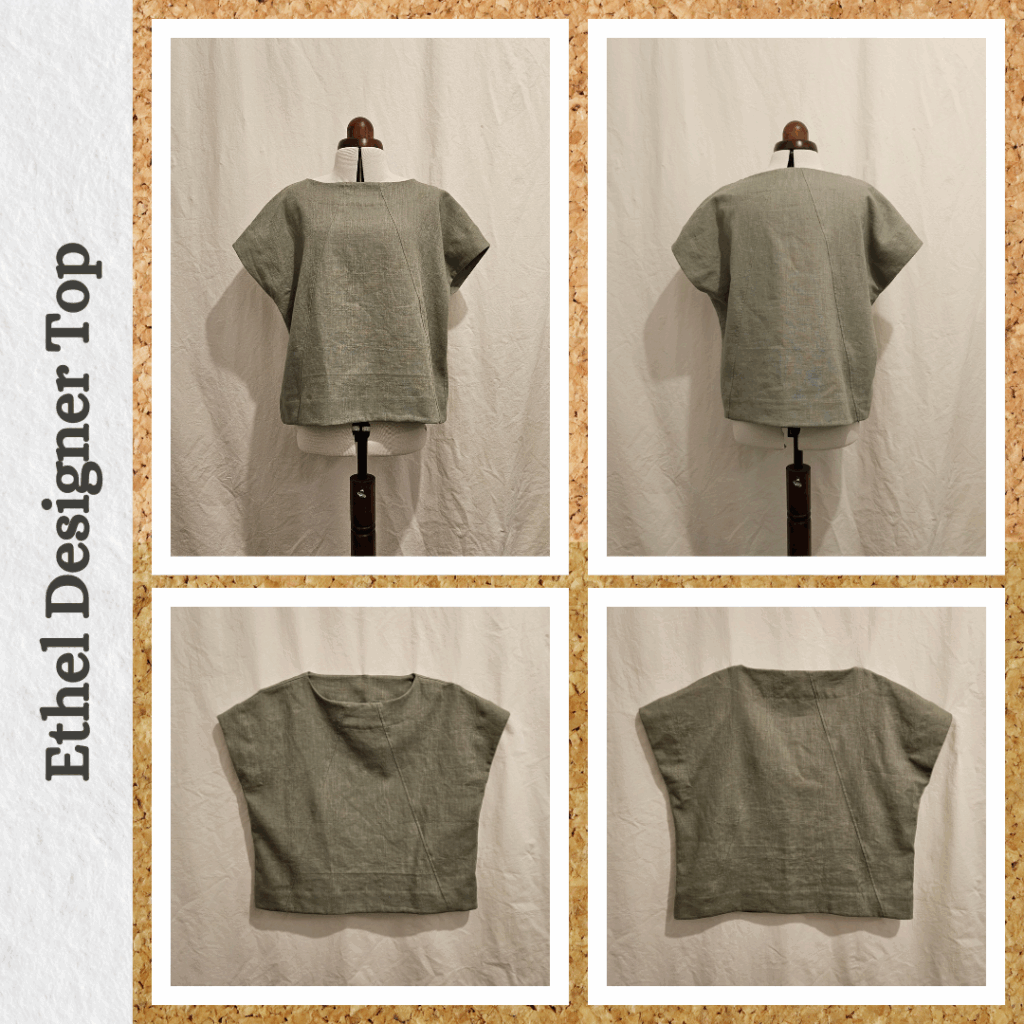
I’m very happy with how this turned out! The only downside is holding linen in your hands and actually wearing it feels quite different. I know it will soften over time so I’ll need to be patient. Maybe go against my try-to-wash-less goal until it gets to a softer feel.
Things I learnt:
- I find new linen a bit too scratchy 😔
- 230g/sqm linen is fine for structured blouses
- Train myself to start using the needle up button instead of the thread cutter button
- Maybe it would be better to bias bind the side seam?
- Whipstitch hems, it takes some time but if I do screw up it saves me repeating the tedious part of repinning
- Some clothes don’t look nice/right on a dress-form 😣 I learnt an alternate way to photograph clothing from this youtube video. I didn’t have a large enough foam board so hung up a white sheet on my quilt display holders and pinned it to that. The result was what I was after (ignoring the crappy lighting…to be troubleshooted) but the process was difficult because the fabric wasn’t secured and I needed to bring the pin back to the front instead of being able to just stab it in 😅 So considering buying a foam board to put on the wall for this purpose. Although it would be best if it also worked as a quilt design board. Something to mull over.
Categories: Sewing
Leave a Reply