
Planning and Design
So I mentioned in the wearable toile post that I had the Tomigaya Dress on my radar for a long time, but I actually only bought the pattern after I received this ume (plum) fabric from Miss Matatabi. It was kind of serendipitous, I had actually ordered a different Ume print fabric to make the Southport Dress, but they ran out and asked me if I wanted to replace it with something else. And since I kinda really wanted something ume, I replaced it with this fabric instead. I wasn’t expecting it to have such a loose weave, I thought it would be normal quilting cotton. So when I took this fabric out of the packaging, I immediately realised it would suit the Tomigaya Dress 😂 So I bought the pattern with my next lot of Modern Makers PDF pattern credit and had it printed quickly so I could make a wearable toile and figure out if I needed to buy extra fabric, since I only bought 2 m and it’s only around 100cm wide. And turns out I did need a bit more, so bought an extra metre because at this point I was really committed to making a Tomigaya in this fabric. Because I was so paranoid about this fabric also selling out, this project has actually come to completion from the point of it’s inception really quickly, especially compared to some of my other ideas haha.
Materials
- Pattern
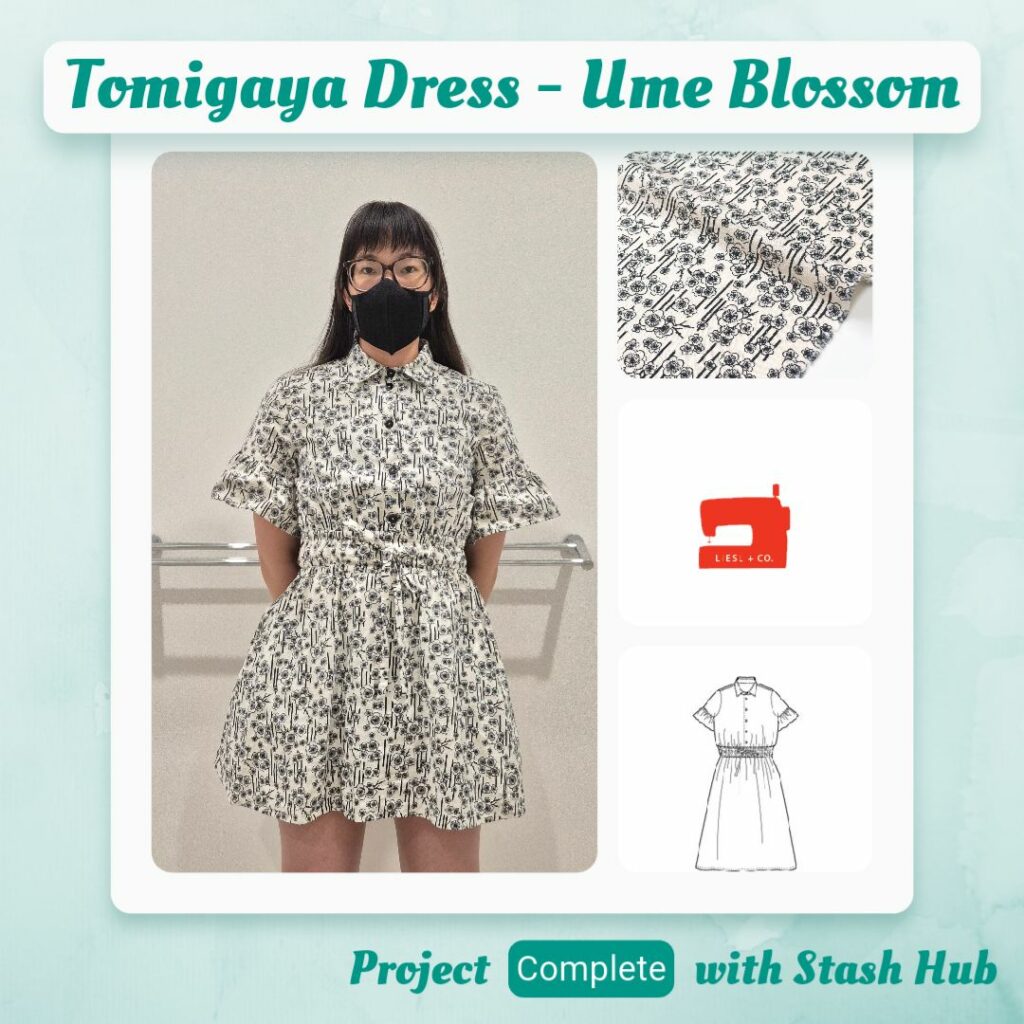
- Tomigaya Dress (Liesel & Co)
- Fabric
- Deadstock Ume Blossom (Miss Matatabi)
- Fiji Cotton Voile – Cream (Fabulous Fabrics)
- Buttons
- Black Plastic Buttons 14mm (from stash)
- Thread
- Rasant col. 0101
- Notions
- ORGANIC COTTON ELASTIC • Natural Un-dyed/Red Thread 10mm (Pattern Scissors Frock)
- 100% Cotton Lightweight Fusible Shirting – White
Sustainability Check
👍 Main and lining fabric are 100% cotton and the main is also deadstock
👍 Interfacing is 100% cotton
👍 Elastic is 60% organic cotton (Turkey)/40% natural rubber (Malaysian plantations), biodegradable & recyclable, plastic-free, made in Austria from certified organic cotton & natural rubber and GOTS certified (I love how much information Pattern Scissors Frock give).
🤏 Rasant is OEKO-TEX but not biodegradable
🤏 Buttons are plastic, but salvaged from a previous project
Construction
I decided to use voile for the inner yoke and waistband because it’s nice and soft. This fabric isn’t that rough, but I figured why not go all out for comfort.
Because this was my second time making this dress I was able to be efficient with the order I sewed pieces, so that I didn’t have to change feet around too many times. Although I did start off with the walking foot before I remembered that I need the standard foot attachment if I want to use the edgestitch foot.
I decided to use the Closet Core tutorial on perfect gathers since I got really tired of unpicking overlocking stitches in other projects. It probably does take longer, but since I feel so in control of everything the whole way through it wasn’t frustrating. Although for the back gathers, I probably should have attached the main yoke with the gathers up so I could tweak them as I sewed, instead of doing the usual sandwich between the two yoke pieces. It’s not terrible, I’d say it’s no worse than if I had used any other method of gathering, but I kept it in mind when I did the sleeve pieces. But also not going to be too hard on myself because this is my first time trying this method.
For the waist ties, I used wonder tape to hold the ties together instead of pins and it sure was nice not getting stabbed trying to guide such a thin tie through the sewing machine. I also used the fabric glue for the ends that I had turned the corners in for so weren’t held together with the wonder tape. It’s nice having all these supplies so I can use whatever it most suitable for the situation.
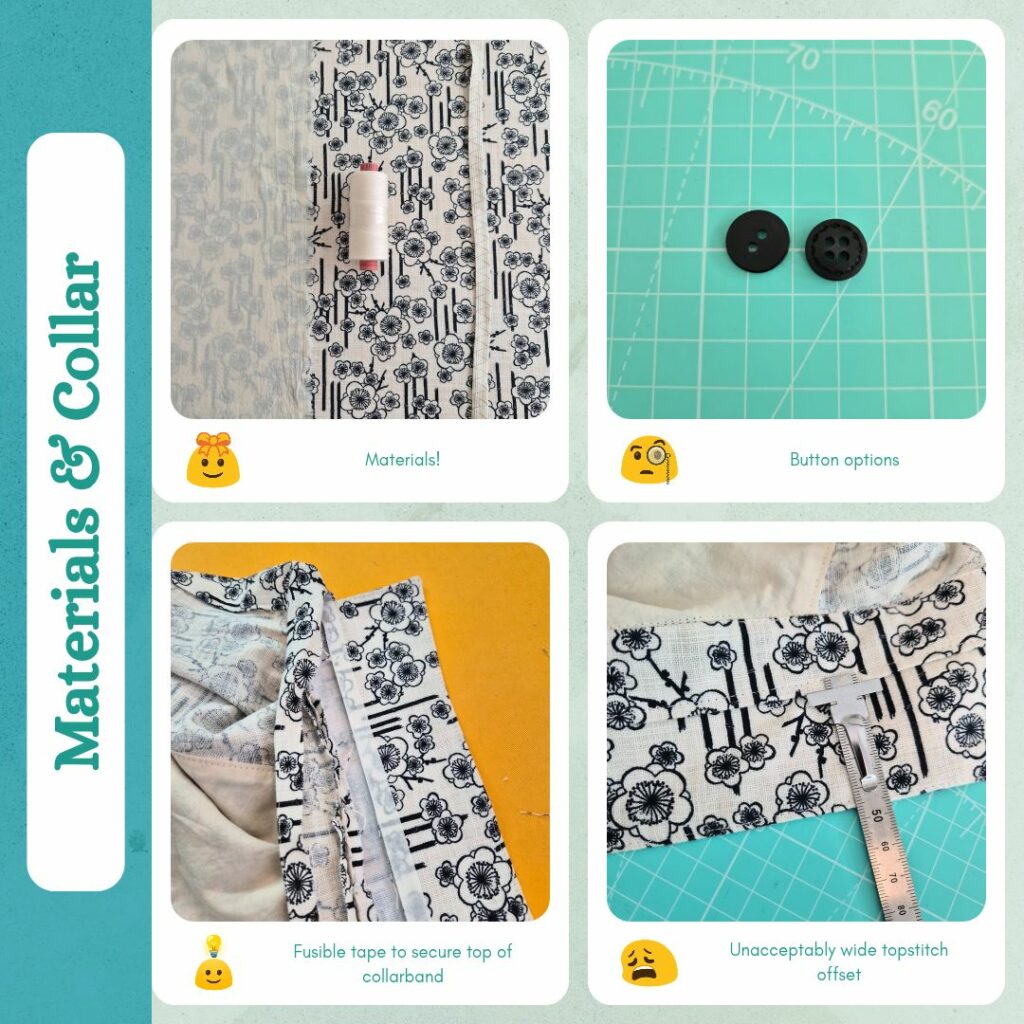
I used the trimmed down collar/collar band interfacing approach again but this time I also used fusible tape to seal everything up. I’m happy with this because it secures the curve just past the end of the collar, but I do need to figure out what to do about the overhang on the top of the inner collar band piece. It will stay in place thanks to the fusible tape, but I really would like to have less overhang, but at the same time am paranoid about making the overhang too small and having the topstitching miss it completely.
For the buttons I had two options, of which I like the stitch detailed one better, but thought since it’s quite a busy print, better to go with the simple option. I did feel a bit of regret that I’m using plastic, but better to use up my stash than buy new buttons just to try and reach a sustainability goal that in practicality doesn’t really matter (because nothing I make with Rasant will be fully biodegradable).
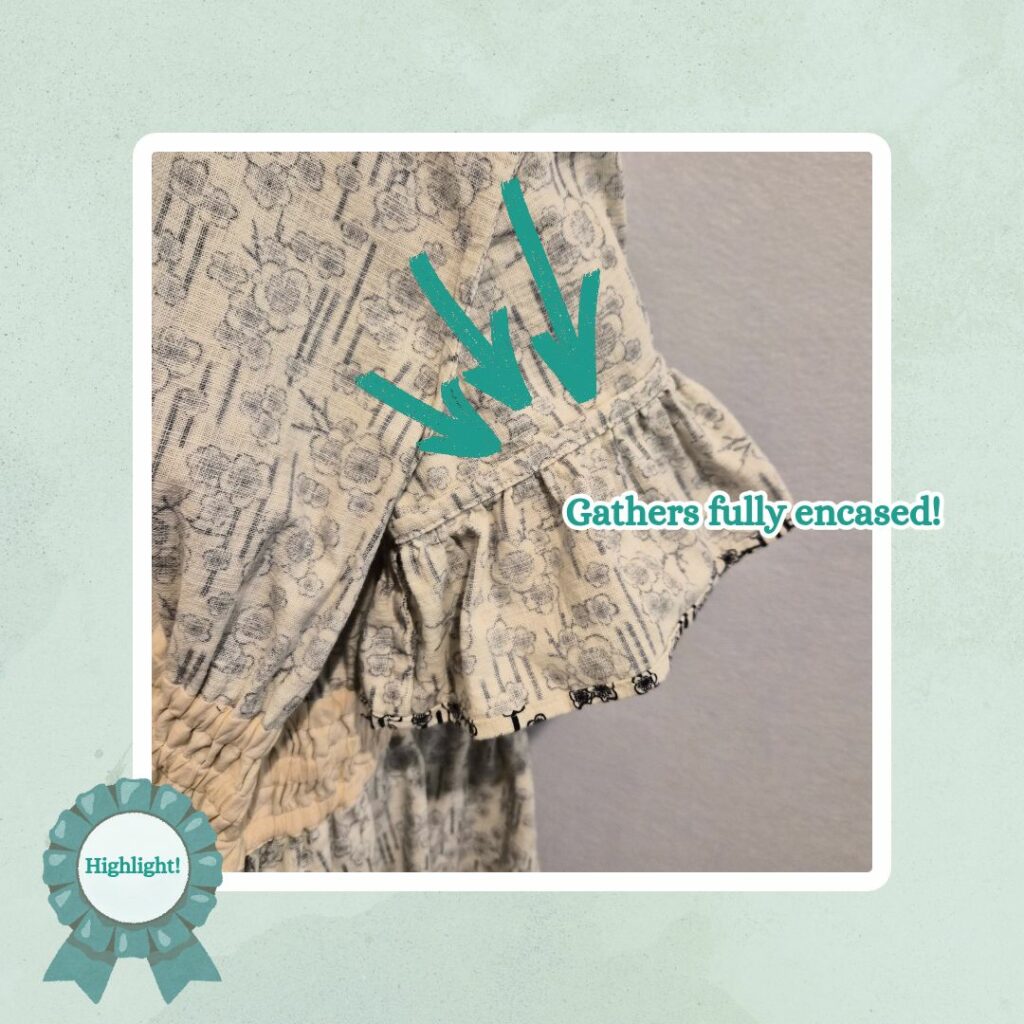
I overthought the sleeves and pushed the front side seam to the front and nested the sleeve seam to the back and then the frill to the front again. Because I thought I would want to push the skirt seam to the back. But I might actually want it to the front because of the inseam pockets? But it all actually doesn’t matter because there is a waistband in between the front and skirt pieces? LOL. I used the Closet Core gathering method for the frill as well. For the first one I tried to gather each section to the corresponding sleeve length but it made it hard to adjust when I was trying to pin the pieces together. I actually ended up needing to gather a little extra. So for the second one, I pinned each reference point and then gathered each section so it would lay flat against the sleeve. Much easier this way. And very happy with the markings I made on the pattern from last time, to help guide me on how to enclose the gathered seam. I’m very pleased with how beautiful and neat it looks.
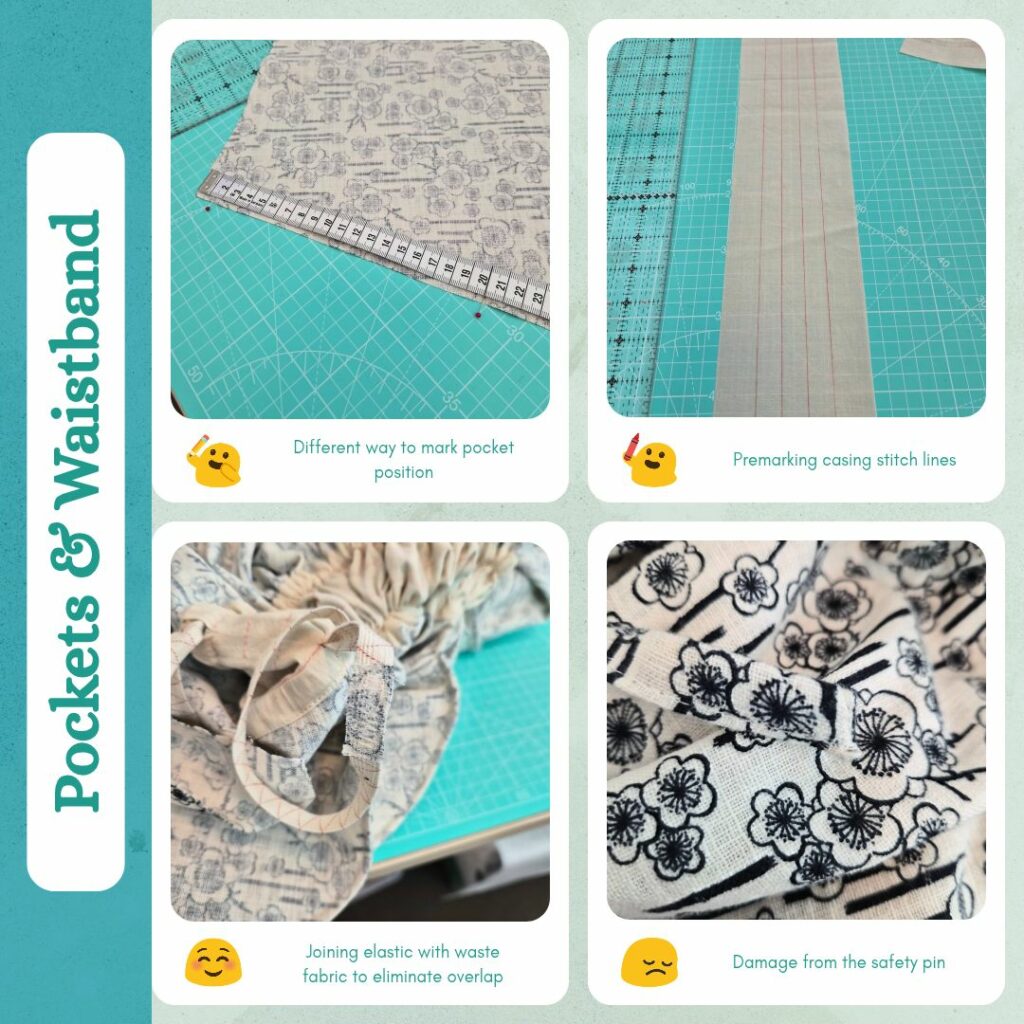
This time I followed the In the Folds french seam pocket tutorial very carefully and got it right, phew! I’ve decided that it’s kind of annoying trying to match the circles from the pattern, especially since I don’t really need to use them because I’m changing the construction method, so instead I matched the top of the pattern piece 1.5 cm from the top of the skirt piece and ensured the bottom of the pocket piece was 20cm from the top of the skirt. And I realised I need to sew them together with the pocket facing up, because the curve of the bottom of the pocket piece is lower than the edge of the pocket piece, so in order to make sure I sew along the entire length I need the pocket to be visible.
For the waistband I decided to mark the casing lines before sewing the pieces together and did so on the lining fabric since it’s both easier to draw on and doesn’t have a pattern so easier to see the markings. I realised at this point that I accidentally cut elastic for the drawstring ties at the waistband length, but tested tying it around my waist as is and the elastic won’t extend out of the casing, so I’ll just have to deal with having the tie be around 10cm longer on both ends.
So I didn’t sew the casing lines before attaching the skirt, it probably would have been easier if I had since I wouldn’t have had to deal with the skirt bulk. Also, I should actually mark the right side because then I can make sure that my stitch lines don’t cut off the buttonholes for the drawstring. My lines did, but luckily I could still fit the drawstring ends through. I held the folded over bottom seam allowance of the inner waistband down with wonder tape, but I also should have placed my guide stitching 6mm instead of 10mm from the edge, so I would have more overlap and actually be able to secure it by stitching in the ditch.
I also had a hard time with the elastic. I feel like I’m someone who doesn’t sweat easily but I feel like I always feel gross after threading elastic LOL. I couldn’t figure out how to make the elastic lay flat the whole way through and so I’m not sure if it got twisted or not… And I don’t think you can buy non-roll 10mm wide elastic so I’m not really sure what to do. It probably won’t make much of a difference due to all the fabric gathers, but it is frustrating. I did use a new elastic joining method, based on the image in this Threads Magazine article, using some waste fabric so there is no elastic overlap. Because I don’t like the bulk from overlapping the elastic. It seems pretty secure to me, I did both a zig-zag stitch and box with diagonals because I was paranoid just one or the other wouldn’t be sufficient.
I also had issues with the drawstring, inadvertently because I sewed the gaps in the side seam for the top and bottom elastics but didn’t separate them and for some reason the thread joining the two formed a very firm barrier against the drawstring 😅 An easy fix once I figured out what it was, but I did unpick some casing stitching because I thought it was too narrow, so had to go back over this later. Another issue with the drawstring was I put a pin in the end to drag it through and it ended up stretching the fabric. I was pretty sad about this and resolved to redo that drawstring side as well as shorten the elastic to the proper length, because after I threaded it all through it felt like it was in danger of pulling out of the casing and showing. But after a wash to remove any water soluble threads (which…I may not have actually used in this??? 😝) the stretched threads kinda felted a bit so it was very much less noticeable and either the washing or trying the dress on ended up pulling the drawstring (fabric portion) into the casing more, so even when I pull on the drawstring the elastic seems safely within the casing. So I ended up not having to do any extra tweaks.
Reflections
I broke a rule of mine here, to not sew things with a deadline. I wanted a dress for my Nan-in-Law’s birthday high tea. I did try to schedule it but I didn’t account for all the fatigue from looking after my husband-with-a-broke-collar-bone plus covering for a colleague who was on leave – I ended up getting a lot less done than planned. There were a couple of things (mainly revolving around the waistband) that I would do differently, but overall I am quite happy with how this turned out. The ‘mistakes’ made are all very minor and it’s likely no-one will ever notice it unless I point it out.
I quite like how the simple act of buttoning the shirt part all the way to the collar gives it quite a different look to having it open to the first button on the front band. I was actually worried I wouldn’t be able to have the collar undone since I was evenly spacing out 4 buttons because that was all I had. But the positioning is actually perfect, lucky!
This was also my first time using eco-elastic and I like it. It feels nicer than the synthetic stuff. I was worried it would be quite bulky but it was a normal thickness.
Things I learnt:
- New way to do gathers
- Fusible tape to hold down top of collar band
- Don’t cross threads perpendicular to casings
- Reduce the fabric foldover for the inner waistband so that it can overlap the bottom waistband stitching and be secured by stitching in the ditch
- Probably best to apply the drawstring to one side of the elastic, feed the elastic through, then attach the other side, in order to not distort/damage the fabric of the drawstring side that is being used to thread through the casing. Or figure out some other way to thread the drawstring though (would a bodkin cause less damage? 🤔)
- I should cut all my collar and collar band pieces in full, that means I can either place it unfolded or fold it and cut on the fold
- I should cut a pattern piece for the collar and collar banding interfacing to make preparing those pieces much easier
Categories: Sewing
Leave a Reply