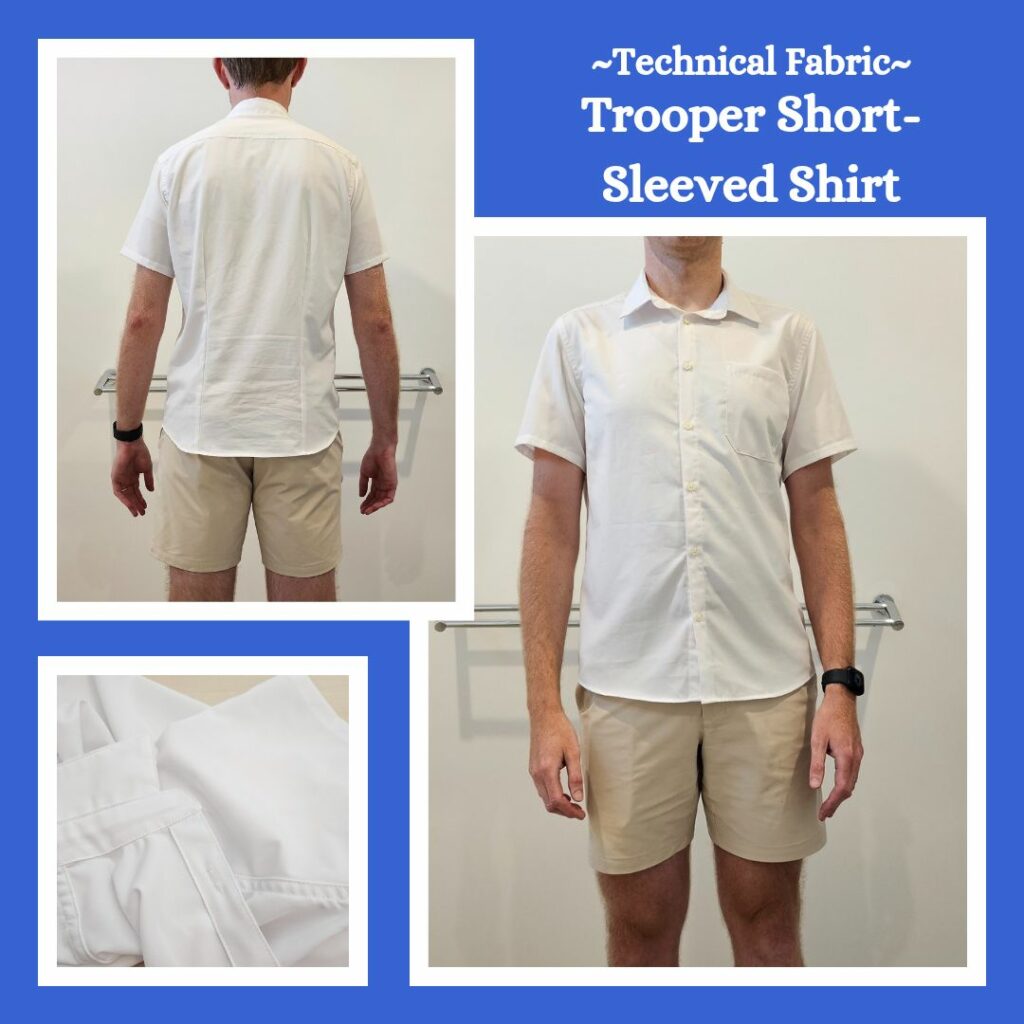
Planning and Design
Part 3 of my extended birthday present for my husband 😁 Part 1 was a muslin of the Trooper Shirt pattern and Part 2 was a non-technical fabric shirt (but with Airism yoke).
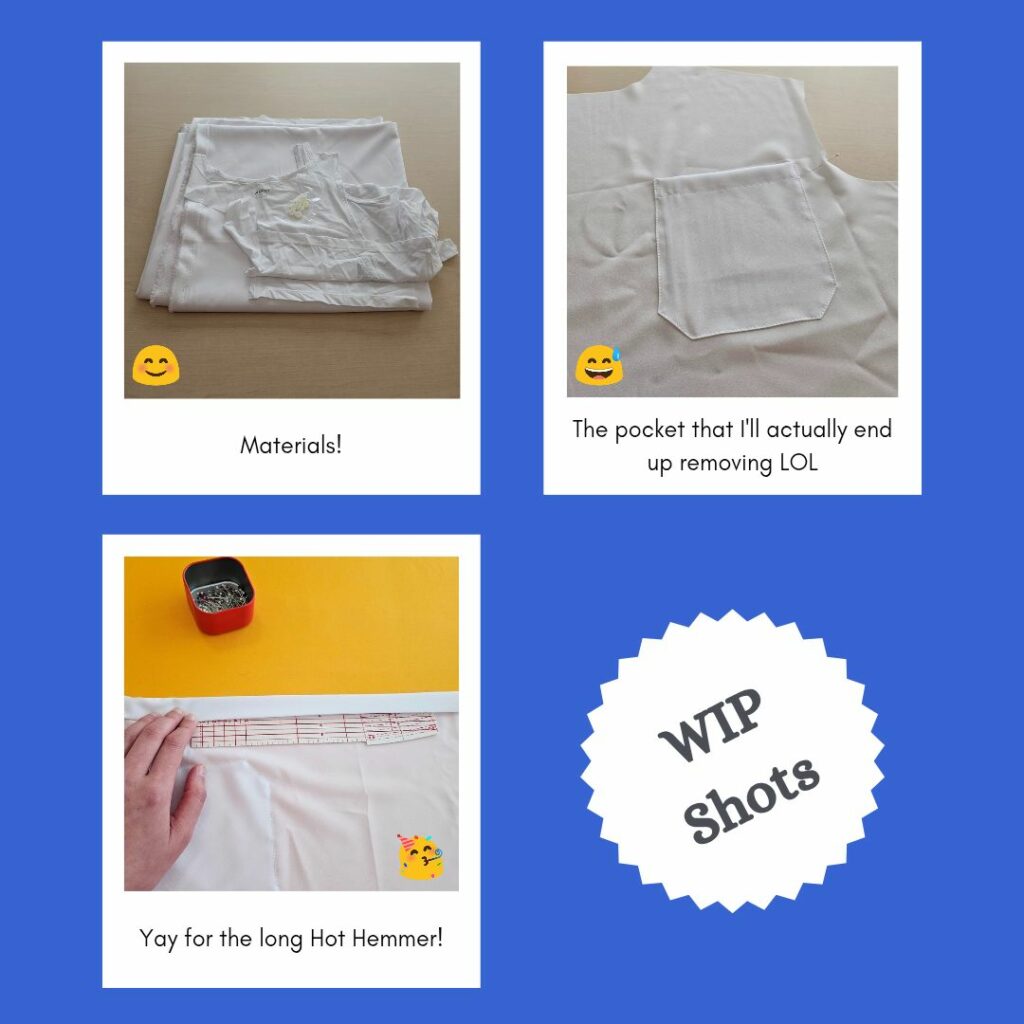
Materials
- Pattern – Trooper Shirt (Tadah Patterns)
- Fabric:
- Stretch Woven White (Greenstyles)
- Airism Singlet (Uniqlo)
- Buttons:
- Classic Shirt Buttons 12mm – Off-White (MaaiDesigns)
Construction
I didn’t make too many changes from the pattern instructions to start with, only adding an extra topstitch line when doing the yoke and front band. I did use my new Hot Hemmer for the front band, which was super handy because I had to use the iron on a low setting and it was hard to get a good crease for the folds. I think next time I should fold to the outside like with the Roxy Shirt, I think it would look better.
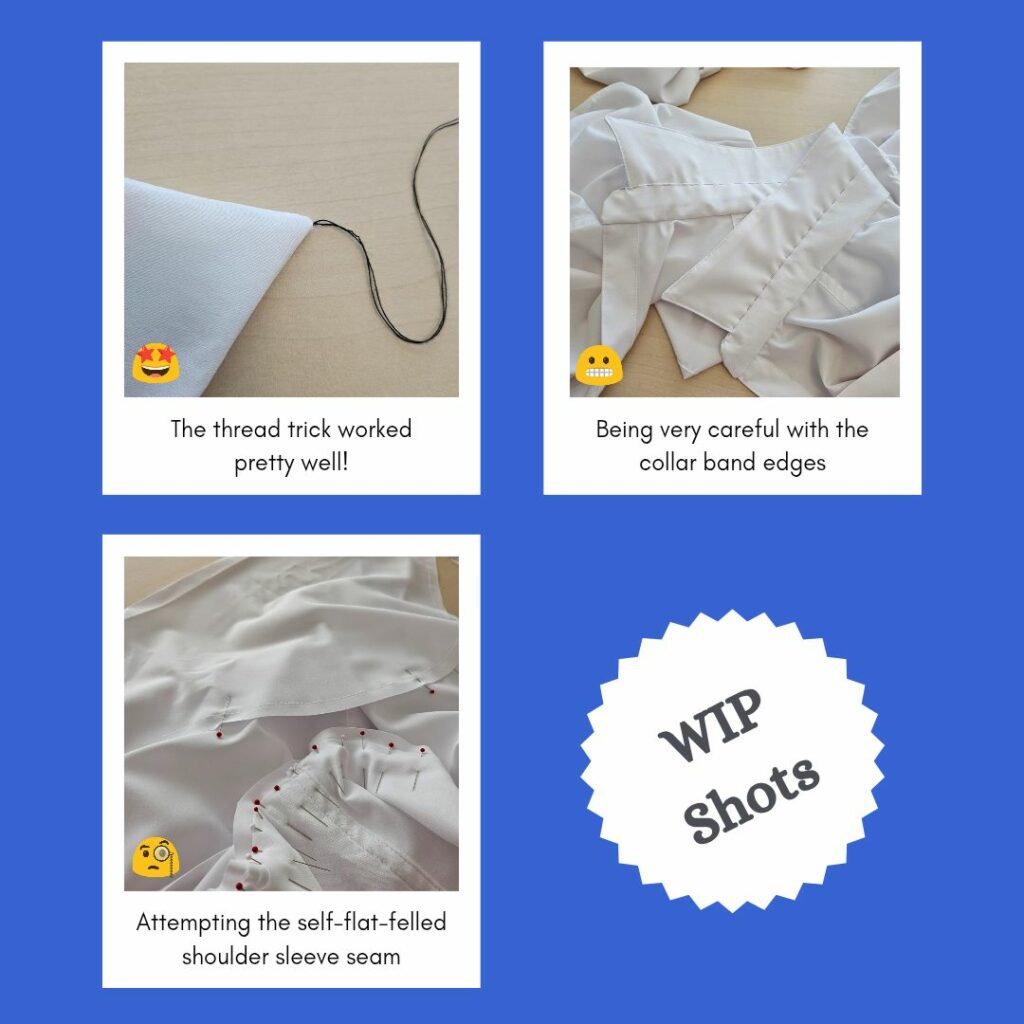
The Hot Hemmer came in useful again for the sleeve hem preparation. Then it came time for a modification based on this tutorial. I also referred to this tutorial and stitched 1 cm from the extended sleeve cap seam edge as a guide and attached to the arm hole. This was tricky as I kept putting the incorrect sides together 😣 Then I folded over the extra 2 cm and basted because I had ZERO confidence I would be able to sew it correctly with just pins haha. I also had to clip to the stitch line on some of the curves. It looks ok, definitely room for improvement.
I also referred to the same website for the collar because I wanted really nice points 😁 It’s a good method. And referring to my new method of attaching the collar, this time it wasn’t as flush with the front band, I need to figure out why ☹️
Then just standard methodology for the hems and buttonholes 👍
Reflections
It was a bit tricky sewing this because I couldn’t use high heat due to the synthetic nature of the fabric. So I felt like it took 1.5x longer to finish. On the bright side though, it seems to uncrease itself well after washing haha.
Things I learnt:
- How to do flat-felled shoulder seams
- How to get nice points on a collar
- Using a hot hemmer
Changes for next time (based on feedback):
- Make pocket smaller, see store-bought shirts for sizing. Keep position same at button side, eg further away from armpit
- Make collar edge straight and skinnier, eg align straighten line to long side of the middle of the collar
- Turn button placket to front and same with sleeve hems as an embellishment detail. Same with pocket hem and double stitch pocket to shirt front.
Categories: Sewing
Leave a Reply