Planning and Design
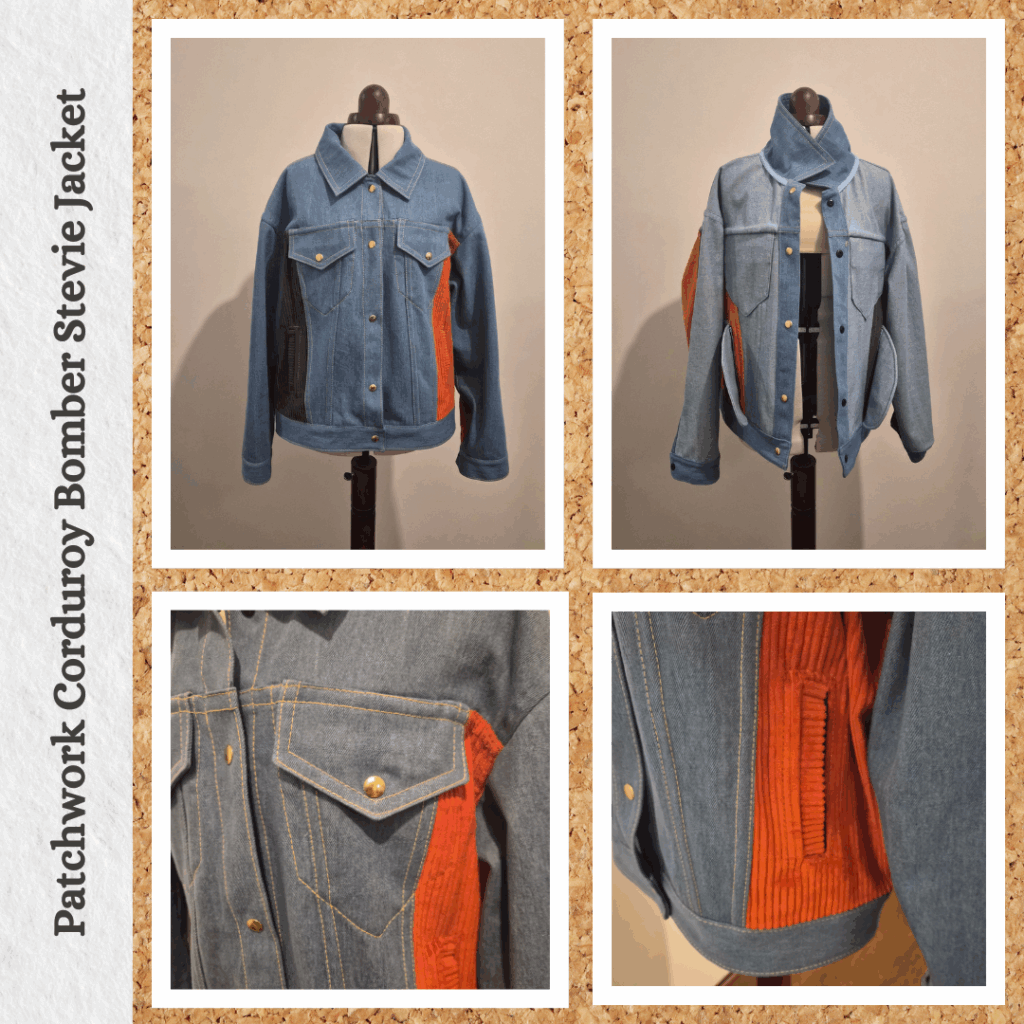
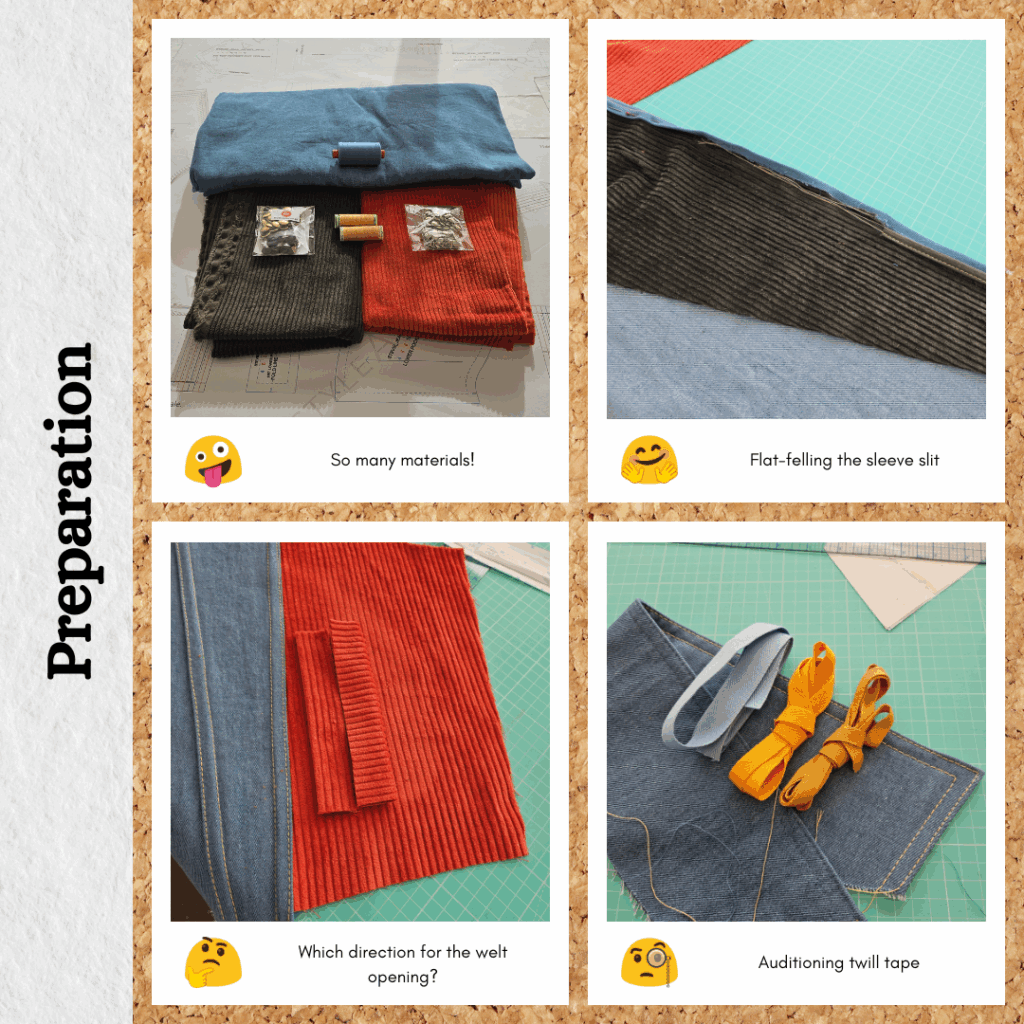
One of the early Man’O Wardrobe bootleg ideas. I like corduroy but I have made myself a full corduroy jacket before and although I adored the fabric, I did not like wearing the jacket. I guess I prefer corduroy as an upholstery fabric than a fashion one? 😅 But by using it as a side panelling for a jacket, I figured that would be a good way to have corduroy in a garment in a suitable percentage that I will actually wear it haha.
Materials
- Pattern
- Stevie Jean Jacket (Style Arc)
- Fabric
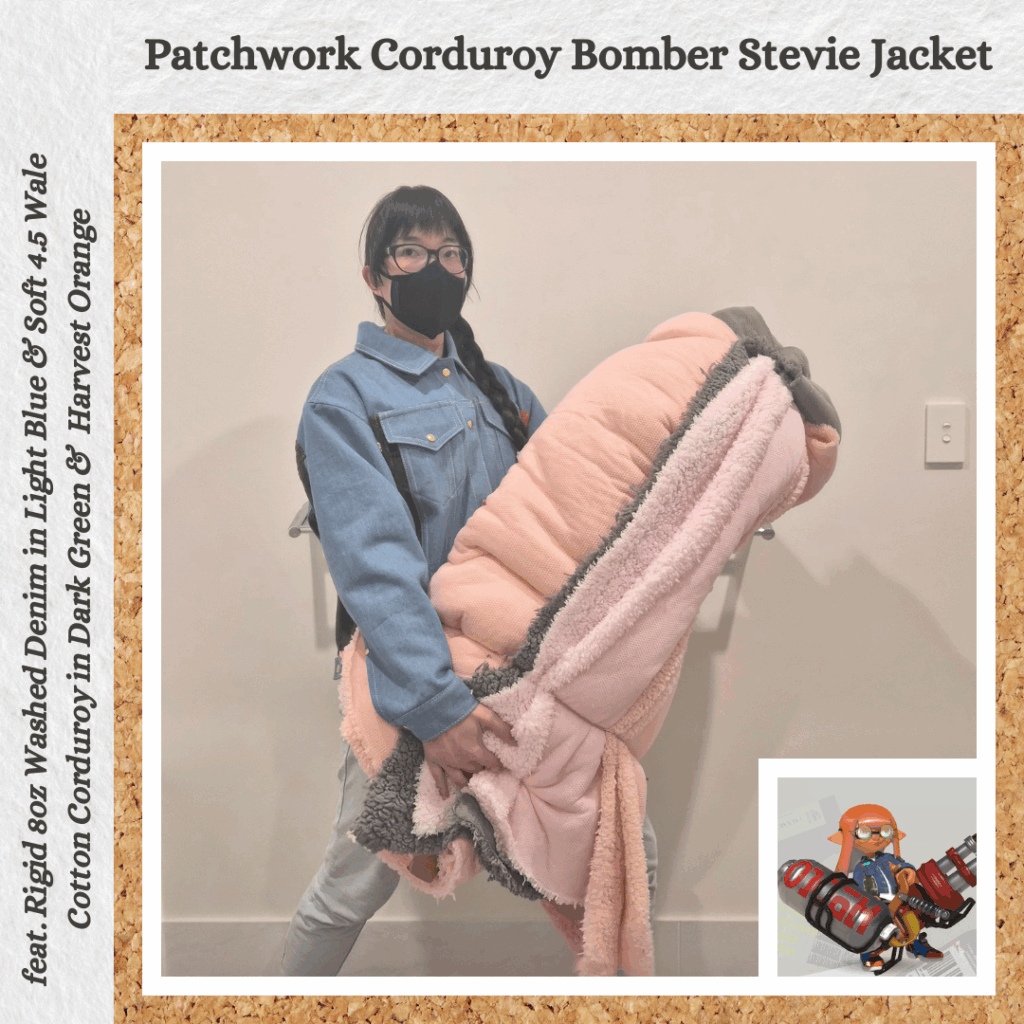
- Rigid 8oz Washed Denim – Light Blue (MaaiDesign)
- Soft 4.5 Wale Cotton Corduroy – Dark Green (Miss Maude)
- Soft 4.5 Wale Cotton Corduroy – Harvest Orange (Miss Maude)
- Buttons
- Gold Snap Buttons (Studio Mio)
- Thread
- Rasant col. 1605
- Gutermann Topstitching Thread col. 415
- Notions
- Gold Rivets (Studio Mio)
- 20mm Cotton Herringbone Tape – Lake Blue (Remnant Warehouse)
Sustainability Check
👍 The denim and corduroy are all 100% cotton so biodegradable
👍 The herringbone tape is 100% cotton so biodegradable
👍 The gold rivets are 100% metal
🤏 Rasant is OEKO-TEX but not biodegradable
👎 The snap buttons are part metal but part plastic
👎 The Gutermann topstitching thread is 100% polyester
Construction
Adjustments
Based on the Stevie Cardboard Cat Jacket, I decided to increase all the flat-fell seams to 2 cm, to account for the bulk of folding over denim. I also tried to standardise so that it was either 1cm or 2cm seams, instead of a mishmash including 6mm and 1.5cm too. The exception being the pockets since those are getting french seamed (unlike everything else in this jacket) and I really don’t need a 1cm wide french seam haha. After doing this, I overlaid all the pattern pieces so that I could check I didn’t mess up and apply the wrong width seam allowance, as a sanity check. Also as a sanity check, I compared the waistband I already had from the wearable toil and it does seem to match up with the pattern pieces, so not sure what I did wrong for the toile. But to err on the safe side, I postponed cutting out the waistband just in case.
Very glad I have ample corduroy fabric, because I cut a piece out the wrong way for both colours LOL. I like the two-toned design, but I will be glad to not have pay so much attention to which direction the pattern pieces go any more 😂 I did a pattern lay-out to check which way the sleeve had to go to match with the front and back. Which didn’t help me given I didn’t read what pattern pieces where what and thought the side back was the front and matched the sleeve to this pattern piece so cut that one wrong for orange. And then I just went on auto-pilot (don’t think about annoying work things while sewing is the lesson here) for the green and cut the side back the wrong way.
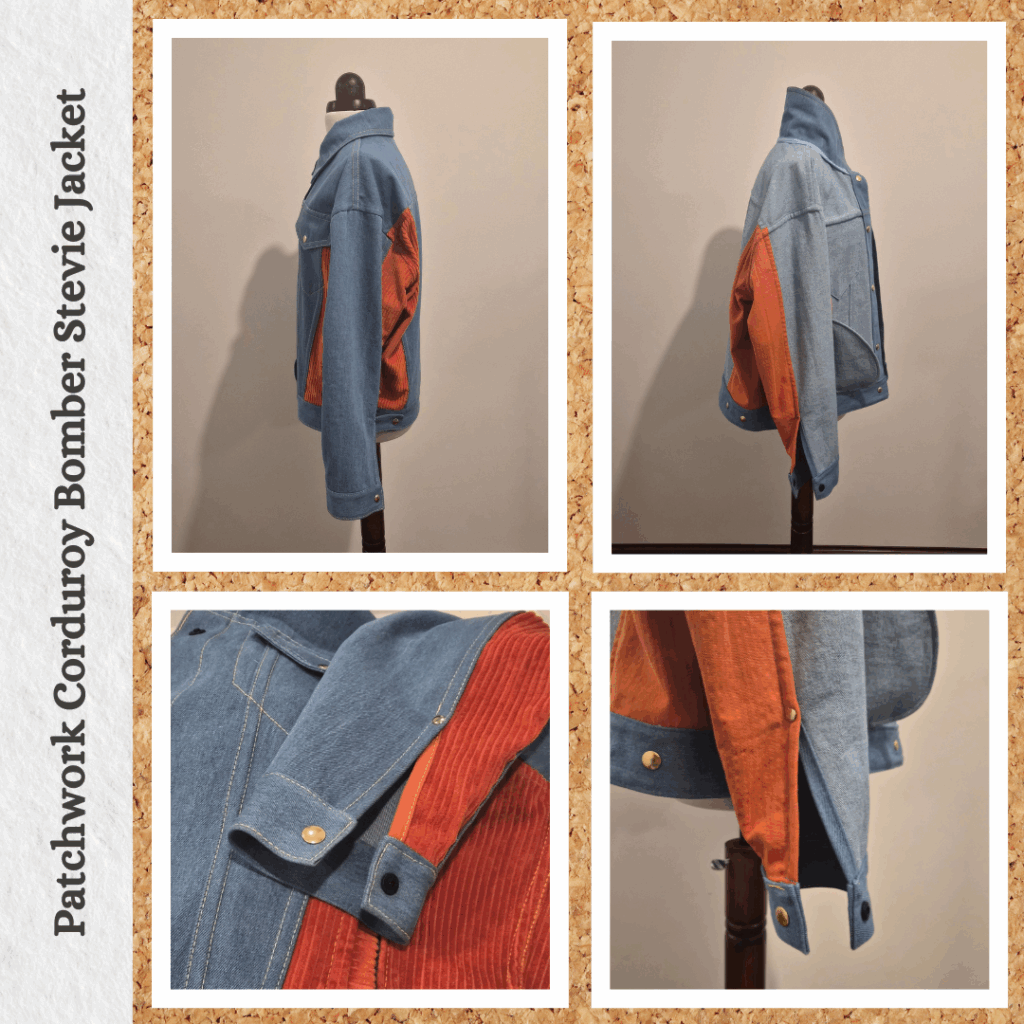
I also modified the sleeve split pattern pieces as I found a cool tutorial by Closet Core Patterns while advance reading up on assembling the Kelly Anorak. I followed the adjustments they made to their pattern and then did a test run to make sure it worked. That’s when I realised that they do their flat-fell seams on the inside. I thought about if I could do that, but since I want to use top-stitching thread, that *needs* to go on top so not an option. I also want the bulk on the outside so I have a nice smooth inside. So I switched the adjustments to the opposite sleeve piece and re-tested. And all good! It was kinda fortuitous that I had mismatching thread in the top and bobbin (from doing my blanket mending works), because it helped me check that the top thread was on the outside.
I also decided last minute I wanted to use twill tape instead of ribbon (the ribbon I had didn’t really match shade wise) to conceal the neckband seam. And then figured I could also use it to encase the welt pocket bag raw welt seams. So had to split the project while waiting for the twill tape to arrive 😅 I bought 3 colours to see which would match best. The gold was too bright and the mustard a bit too dark, so went with the light blue.
Bulk Flat-Fell Seaming
I remember it was a little annoying how often I had to switch the needles when doing the Stacie Gabardine Jacket, so tried to streamline my sewing process here. This meant I did all the panels as well as the sleeve at the same time. The edgestitch foot came in handy as per usual 🙂 I also added the rivets for the sleeve slits at this point too.
Welt Pockets
I reviewed the detailed instructions I wrote for the wearable toile and decided I could streamline it a bit:
- Part 1 – Welt
- Mark welt centre line on either side of the fabric and sew along this line to mark it on both sides
- Cut a piece of interfacing at least 1cm wider than the actual welt opening on all sides
- Adhere this to the back, centring it on the centre line stitching
- Line up welt on centreline on front, with the folded side pointing towards the centre front
- Sew down the welt using a 1cm seam, leaving 1cm free on either end
- On the wrong side, mark out the full welt design (including the “Y” cutting markings) using the welt seam sewing line as a guide. This means that the centre may not match up with the original centre line stitch line – this is fine, it’s more important that everything is positioned according to the welt seam stitching
- Mark centrepoint of the welt.
- Mark out fold line on the pocket bag piece and centrepoint.
- Line up the fold line to the welt raw edge and match centrepoint to welt centrepoint. Pin from the front to ensure pocket piece is laying flat the turn to wrong side and pin from this side (the side to be sewn from), then remove pins from the front side
- Sew along the outer box markings, making sure to shorten stitch length at corners
- Cut along the welt centreline line using a rotary cutter
- Complete cutting the welt along the Y markings using scissors
- Turn pocket bag to back and press well
- Part 2 – French Seamed Pocket Bag
- Turn pocket bag back to the front and attach the pocket bearer piece with a 6mm seam. Ensure the welt piece does not get caught in this seam
- Trim the seam and turn pocket to the back. Press and sew a french seam to finish the pocket bag seam. Ensure the top welt piece is laying flat and capture this in the french seam. However make sure not to catch the bottom of the welt piece (should be too short to be an issue).
- Part 3 – Finishing
- Trim the welt box seam allowance near the front side underneath the pocket bag so that when the welt pocket is topstitched from the front this seam will be fully encased
- Grade the welt box seam near the front panel
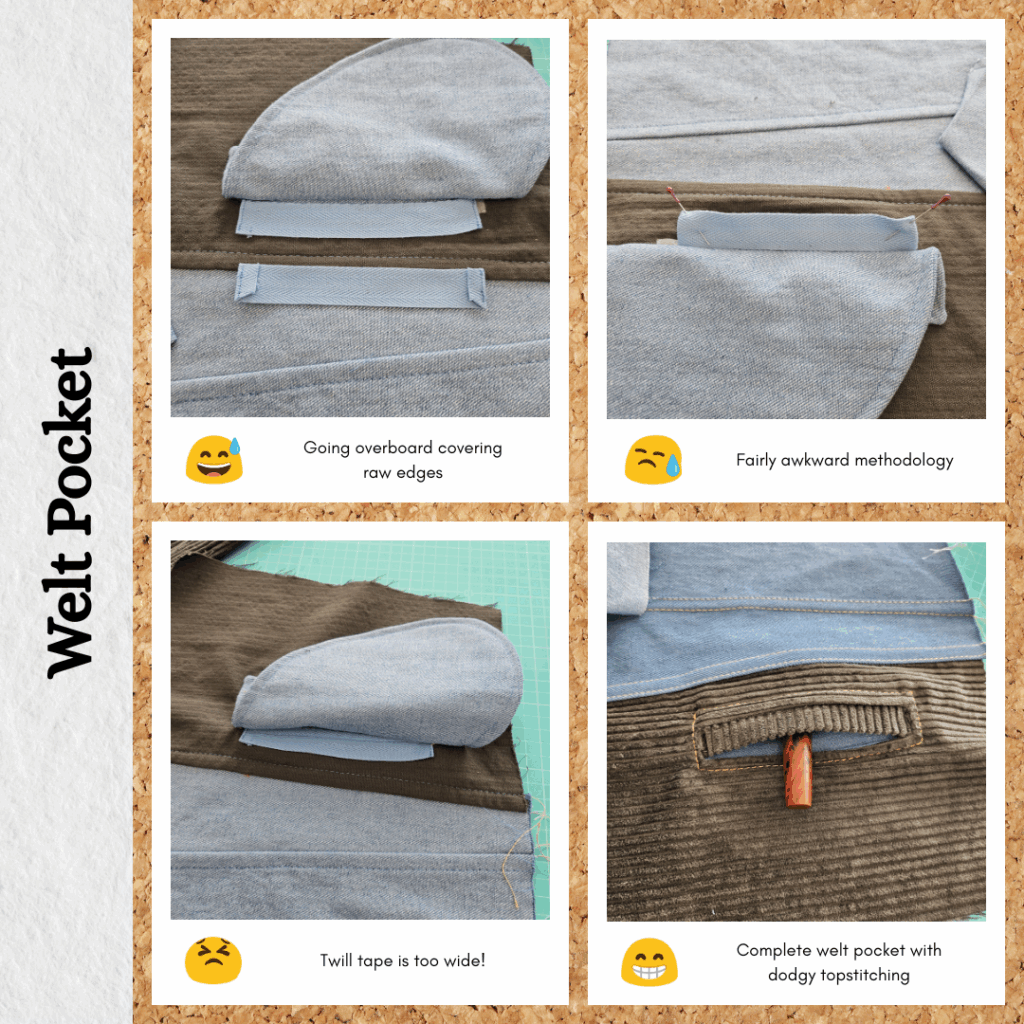
- Cut twill tape longer than the raw seam edge and fold down the short ends and topstitch
- Handstitch one long side of the twill tape to the welt seam line of stitching
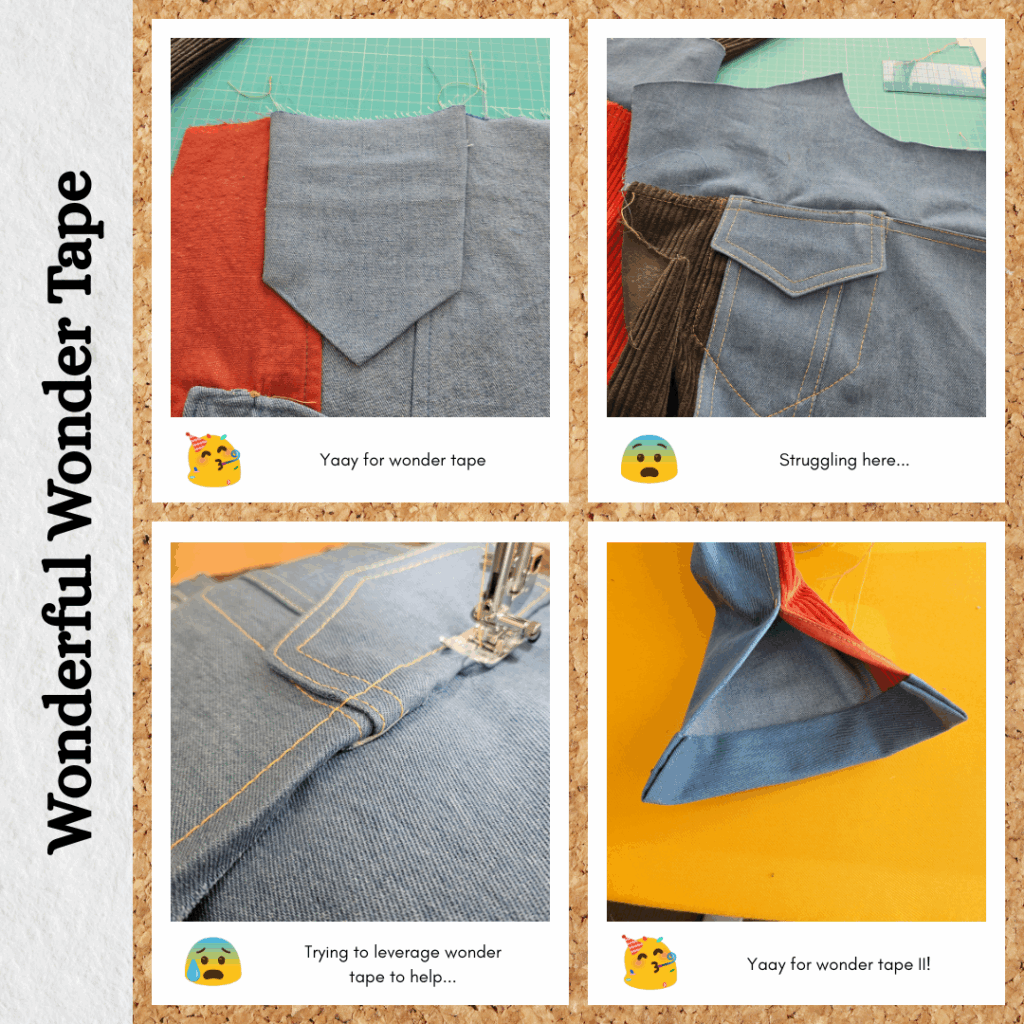
- Use wonder tape to hold the rest of the twill tape down
- Push the pocket to the opposite direction and pin to hold of of the way
- On the front, top stitch along the welt longedge, catching the twill tape underneath. Extend the topstitching to allow for manual matching to the other topstitching
- Fold the pocket back to it’s natural position
- Topstitch along the remaining welt sides, meeting up with previous topstitching
- Use a chenille needle to unpick any stitches from the original single line of topstitching and pull thread ends to the back
- Knot the thread ends and encase in a seam
I had some issues catching the top of the orange welt in the french seam. I think this is because the corduroy is quite plush and the seam itself is quite narrow, so the corduroy just didn’t want to stay flat and in place. Maybe another case for using wonder tape or fusible thread?
I wasn’t sure which way I should make the nap of the welts go so just made sure that they were the same on both sides. But I lucked out and it ended up so that the welts are smooth on the inside when putting your hands into the pocket bag 😁
Top Pocket
Now that I know how this is meant to be constructed, I did a couple of extra steps to make things really nice and neat. Firstly I stitched the front facing down with a larger seam allowance, to ensure that the raw edge of my flat-fell seams on the panels would be concealed. Before cutting into the corners, I checked the pocket flap would adequately cover it. I also pressed the lower edge of the facing up 1cm and topstitched it before turning the facing to the wrong side and pressing. I topstitched 1cm along the pocket opening. Then prior to attaching the pocket bag, I guide stitched 1.3cm along all the edges and pre-pressed. Then I attached it to the short edges of the pocket facing and stitched them together, making sure to stitch outside the guide stitching.
Then I trimmed the pocket facing and turned the pocket bag edges back in and secured down with wonder tape. Then I used the edge-stitch foot to follow the pocket bag edges from the front and top-stitched a slight offset from the pocket bag edge. It worked well!
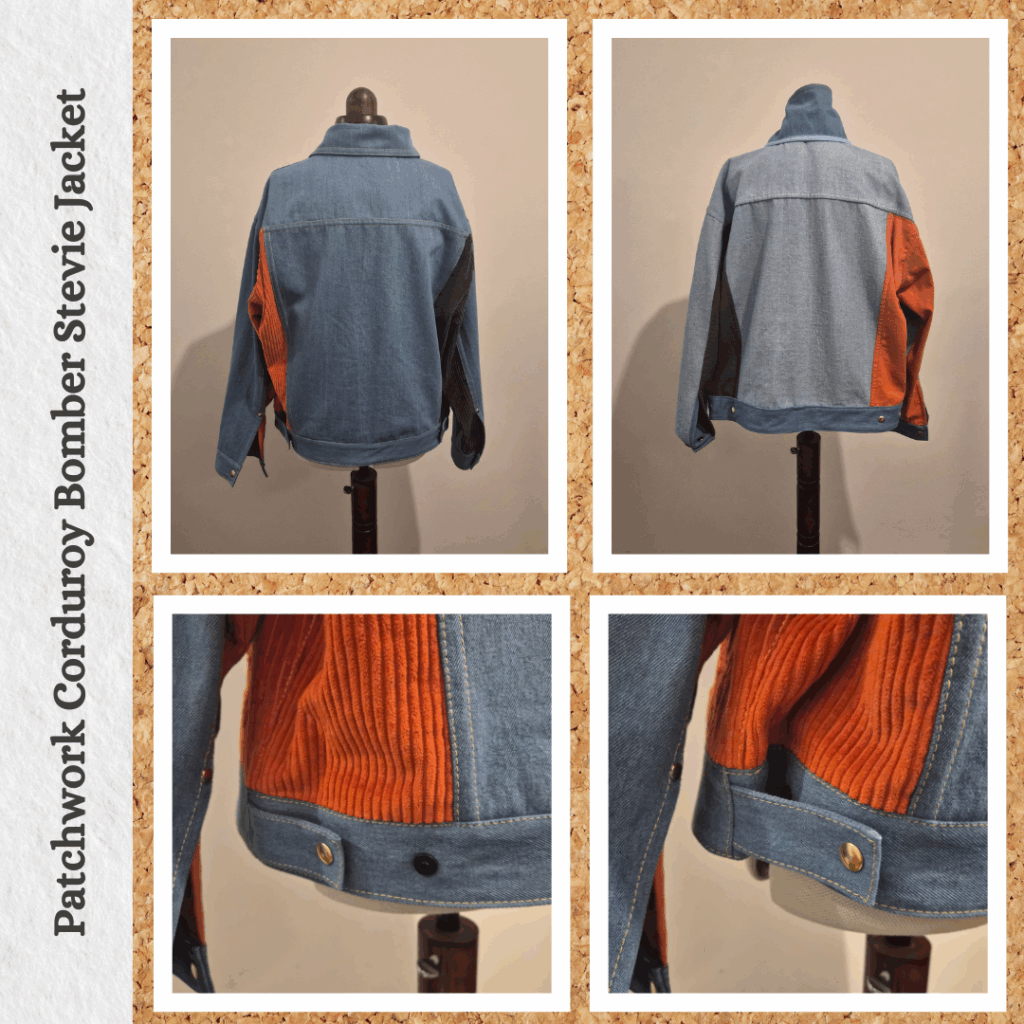
Yoke Seams
What didn’t work so well was flat-felling the front yoke seams. I thought by increasing the seam allowance and by using my craft hammer to compact the bulk, I would be able to manage. But I think it’s probably just too bulky. And also my thread ends were loose and it was hard to fold the flat-fell seam down and make sure the threads remained folded to. I made it work by redoing it many times and using a fair amount of Wondertape, but the results aren’t very neat or professional. In hindsight, if I had known I was going to use twill tape, I should have bought more and done a normal yoke seam and encase the raw edge with the twill tape by topstitching over the top.
Collar and Front Bands
Once again I forgot to use the thread corner turnout method but it’s probably fine. When it came time to cover the collar seam with the twill tape, I realised that I really should have bought a width that matched my seam allowance. For some reason I thought I needed extra to cover the seam allowance plus some. So I made do by folding the tape in half and pressing and using it bit like bias binding. I should have made the underside a little longer to make sure that it would get caught by my stitching, so some parts were a bit loose. I managed to encase all except one instance with the continuous topstitching of the front bands and the last bit I resorted to fusible thread to try and encourage it to stay down haha.
The edgestitch foot was really nice for topstitching the front band and collar. When I got to the collar section, my offset distance was a bit larger than along the front band, and was able to just adjust the edgefoot guide to match this and then change it back when I got to the other front band. What I noticed though was that my machine and topstitching thread really hate going down off a big bulky seam and end up either shredding or missing a stitch. I’m not sure how to get around this, except by going from the other direction for that portion to patch up the messed up stitches 😅 Oh yeah and I used wonder tape instead of the washable thread to hold down the front band.
Cuffs and Waistband (and Sleeves)
I always thought that the method of attaching the waistband tabs seemed unnecessarily bulky. So I had the idea of splitting the waistband so I could catch the waistband tab raw edges in the side seams. Now I don’t have to worry about trying to thread a rivet through like 8 layers of fabric! 😝
Once again I used wonder tape to hold secure the cuff and waistband. This allows me to use my method of getting nice pointy corners (no burrito method or turning out bulky corners). It’s super nice not getting attacked by pins, especially when doing the cuffs which have a small circumference haha. One learning from using the wonder tape is that I really need to sew right after I apply it. I did up the waistband but realised that my machine was set up with the normal thread, so decided to sew the shoulder seams first (held down with washable thread, since wonder tape probably doesn’t work as well for curves). But that meant the waistband got bashed around and it weakened the hold of the wonder tape a bit.
Another thing I’ve noticed is that sometimes my machine will suddenly not be happy while topstitching. I can mitigate most of the issues by setting my machine speed to the slowest and using the handwheel in particularly bulky sections, but every now and then, on a normal stretch of stitching, it will have a mini fit. Not bad enough to break the thread, but usually resulting in a skipped stitch or a bit of a tangle on the bobbin side/slight shredding of the thread. I dunno how to avoid this…maybe with thread conditioner?
Buttons
I super procrastinated on this part. I think it’s because I wanted to put the second button on the waistband so you could make it more tapered, but I since I was using snap buttons, I didn’t want to use to ‘bottom’ snaps and be left with two unusable top snaps. The solution was obvious (switch them around), but this meant I would need to be paying very close attention to make sure I wouldn’t screw up and I think I just wasn’t in the right frame of mind to tackle this (coincided with me getting a new insulin pump and spending all my mental capacity on this).
It was probably about a month later before I got around to applying the snap buttons 😅 I actually followed the front band button placement from the pattern. I found it was easiest to apply the buttons by applying the top button, attaching the bottom snap to the top button and then snapping it all together (it was hard pushing down around the protruding part of the bottom). I left the second waistband buttons til last so I could try on the jacket and mark out the best position for the second bottom buttons. Since these were snap-no-tools-required buttons it was quite easy to apply them, but my fingers did hurt afterwards haha. I think it’s because I was working with denim so it was a bit of a struggle pushing the button stand through the hole created by the awl.
I also noticed when I tried the jacket on that the bottom pockets are kinda annoying (hanging free) as is, so anchored them with hand stitching to the waistband.
Reflections
Not as professional a finish as I was hoping, but I guess once again I added some new things (twill tape) and I obviously still have quite a ways to go to master using topstitching thread in my machine. Which is fair, I’ve only used it 3 times so far, and have at least already picked up a bunch of tricks. Tbh, I’m more upset over the failed flat-felled seam potentially not being secure than it looking dodgy.
Things I learnt:
- Match my twill tape width to the corresponding seam allowance width
- Wonder tape is awesome (but make sure to sew straight away)
- Don’t try to flat-fell when the seam is super bulky
- Maybe use thread conditioner when using topstitching thread
Next time I think I will line the front panel to encase the welt pocket bags. That way I don’t need to try to french seam the pocket bag seams and they also won’t flap around. There will likely be a next time because I really like the two snap button placement on the waistband, the tapered option looks really nice, but the looser fit could be more useful when layering. I love it when a detail ends up really practical 😁
Categories: Sewing
3 replies ›