Planning and Design
Take I I didn’t like because it used polyester polar fleece and I hate the feel of that.
Take II I didn’t like because the fabric was really slippery and I don’t like that pattern anymore.
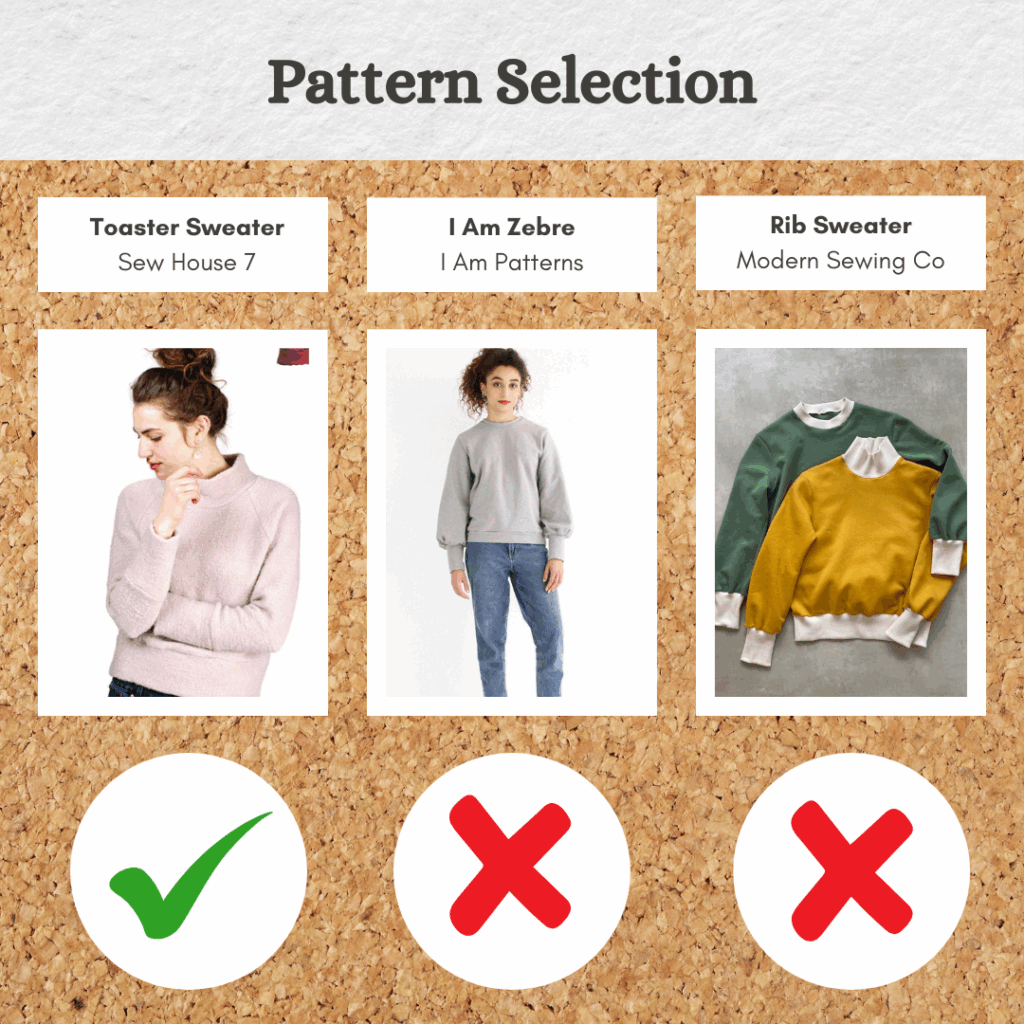
I didn’t really *need* to make a Take III, but thinking about it was taking up too much brain space, so I figured just make it and move on 🤣 But this time instead of using a random pattern I modified over 5 years ago, let’s use a pre-existing pattern. In Take II, I had brainstormed some ‘fancy’ versions of this style (long cuff) of sweater and ultimately disregarded all of them. This time, in my ongoing discovery of indie pattern brands, I found a couple of styles that were actually fairly similar to the outfit I’m trying to copy. I ended up going with the Toaster Sweater because it seems like a very popular pattern and it also seemed like the one I would be mostly likely to wear. The Modern Sewing Co. one seemed a bit too plain and the I AM Patterns one was too fancy. So, the goldilocks just right factor? 😛
Materials
- Pattern
- Toaster Sweater #1 (Sew House 7)
- Fabric
- Cotton Fleece – Black (MaaiDesign)
- Organic Heavy Ribbing – Black (MaaiDesign)
- Thread
- Gutermann Maraflex col. 000
Sustainability Check
👍 Cotton Fleece is 100% cotton. Organic Heavy Ribbing is 98% cotton, 2% spandex. So both biodegradable
👍 Maraflex is biodegradable
100% score for this project 😁
Construction
Choosing a Size
So I chose the pattern and fabric based on the Splatoon garment and didn’t look into the fabric requirements at all 😅 After reviewing the instructions, turns out the fabric needs to have at least 20% stretch, I suppose because it does look quite fitted. So I had a moment of panic, wondering if my cotton fleece had any stretch (from memory it didn’t feel like it did, but I think this is because when I think stretch I think lycra level stretch). But luckily I had started using Stash Hub and the magic input had scraped the stretch details from MaaiDesign, so I was able to easily confirm that it did have 20% stretch *phew*. Although I didn’t fully trust the tool 100% so went and double-checked against the original website listing (it was correct).
I took my basic three measurements for my big knit sew-a-thon and based on these, I fit pretty well into the 8, except that I hadn’t taken a high hip measurement (I actually don’t know where this is so would need to look it up) so couldn’t see if I would fit into this. The fit does look quite fitted, but reviewing the final garment measurements, there is like 10cm ease in the bust. But not that much at the hip. But I thought it will be fine since I was planning to use the ribbing for the hem so there will be stretch if needed.
I decided I wouldn’t make any length adjustments and make the sweater as designed. And then from there, figure out if I want to change anything for next time (when I make a non-game related version LOL). I considered going up a size, but I think if I wanted an oversize sweater, I should just use a different design. So size 8 it is.
Cutting the Fabric
So…I’m very glad I didn’t try to cut this at night. I laid out the fabric and the pieces and realised it was going to be a super tight squeeze LOL. I guess I looked at the fabric requirements, saw 2m and thought if I got 1.5m of one and 0.5m of the other it would be fine? Obviously didn’t think about the shape of the pattern pieces and if they would fit length/width wise. If I were more organised and had the pattern printed and copied/cut out I could have done a mock-up. But that would require me to be organised 🙃
Waiting to cut it during daylight was a good idea too. For starters it’s black which is always easier to deal with in natural light. But secondly, I was umming and ahhing over it it had nap or not 🤨 Rubbing it in all four directions didn’t feel that different to me. Also, I had it folded one way, then realised the selvedge was actually the opposite direction, so switched it, then actually tested the stretch and realised it was stretchier in the original direction, so flip-flopped a lot that way too. Anyway, I googled if polar/cotton fleece has nap and the general consensus was it does, so I paid extra attention and figured out the direction. I also laid out the pieces I planned to cut in ribbing over that and realised I would be short. So I did some fudging and cut half the front/back bands in each fabric type. So the final garment will be 1cm shorter than intended as I will need to join these along the bottom edge. But it kinda works out because I was a bit worried that the ribbing wasn’t ‘stiff’ enough to fulfil the original design’s intent. I was going to try do the same for the cuffs but I actually didn’t have enough fabric in the right grain direction, so the cuffs and neckband will be 100% ribbing.
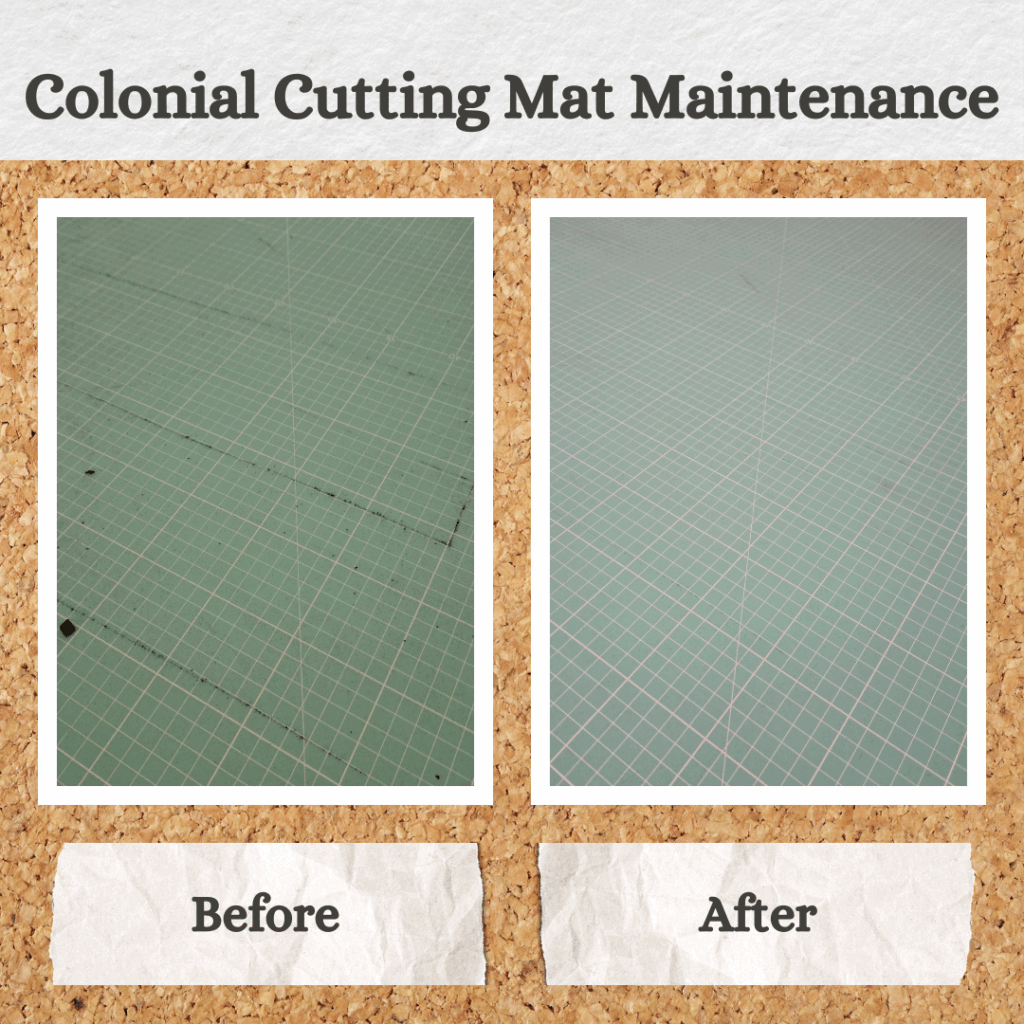
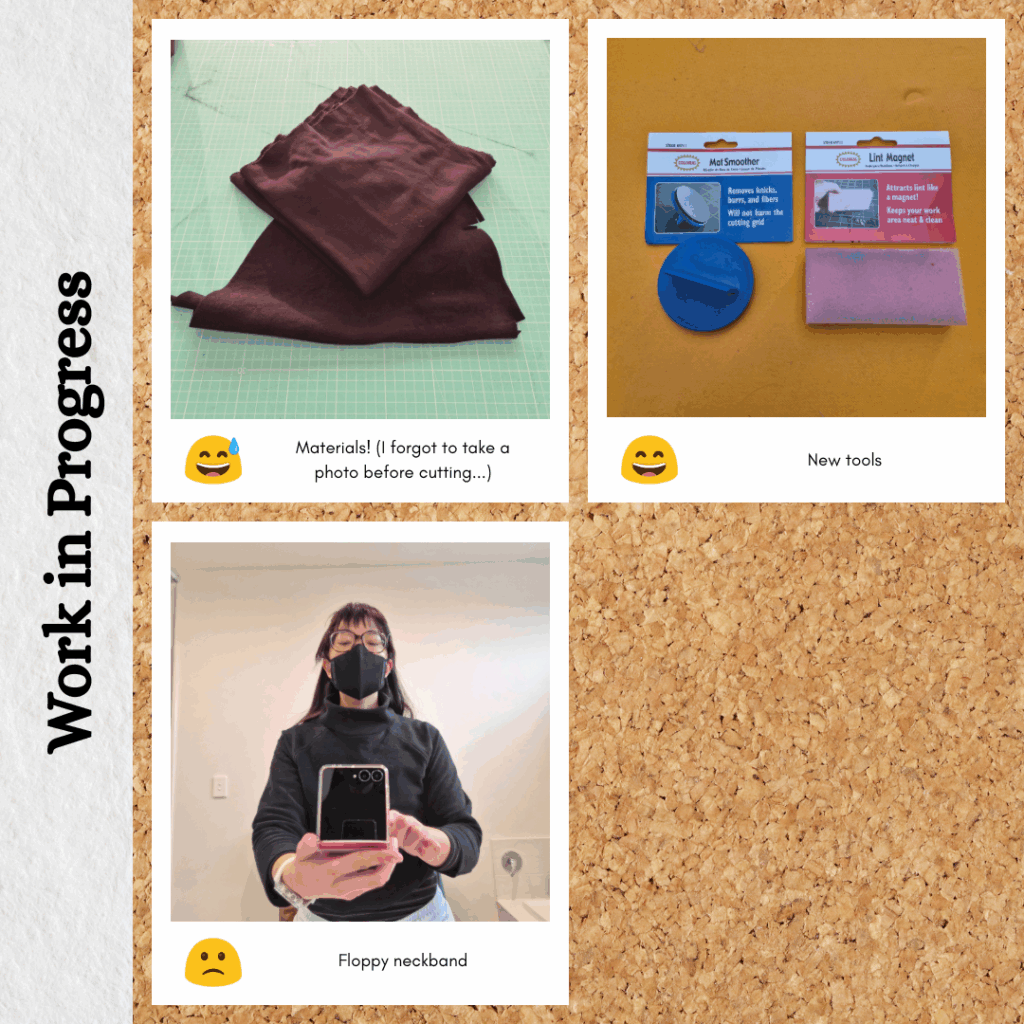
After cutting, as expected my cutting board was a complete mess due to the fleece fluff getting into the grooves and just generally coating the surface. So I got to test out the Colonial Mat Smoother and Lint Magnet I bought recently. I think it worked ok? It took quite a lot of patience though. I think the mat got discoloured in places but that’s not a big deal. The main thing is being able to get the fluff out of the grooves cut into the mat due to me using too much pressure…cutting knits with a rotary blade is kinda tricky.
Sewing
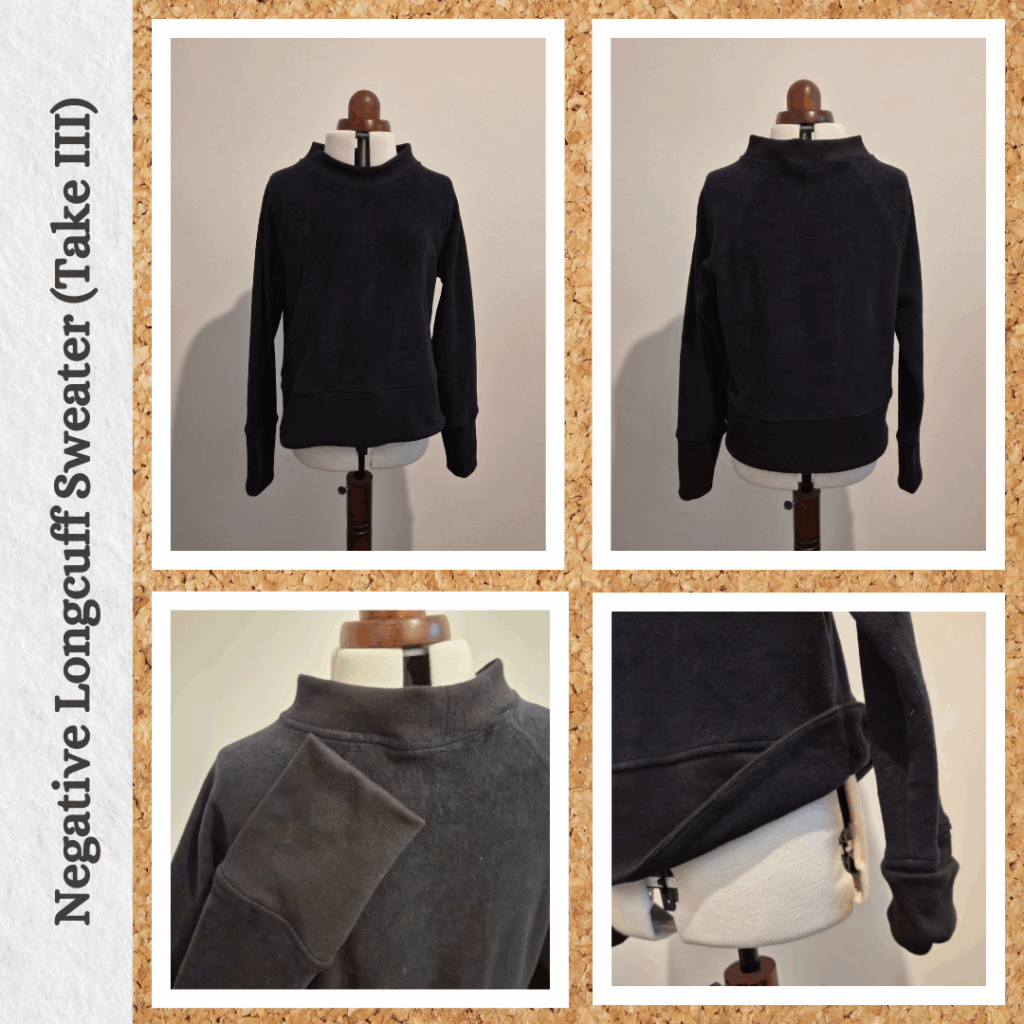
I like to think I set myself up for success: Maraflex thread, walking foot, overlocker with three threads (needle on right for narrow stitches). It went pretty smoothly because I had marked out the right sides of both the cotton fleece and ribbing and transferred the markings right before pinning, so I was aware of all the markings as I was doing the pinning itself. The only part where I had to redo something was the collar. I attached the turtleneck collar and did a quick wear test and thought that it looked a bit floppy. Then I did the side seams and did a second wear test and decided that I would reduce the neckband height. After all, I’m not using the suggested fabric type. I was going to copy the height from the Toaster Sweater 2 design, but the neck construction for that one is completely different. So I just did roughly half. It works out I guess, since it’s closer to the original Splatoon design now.
I also understitched the fudged hem band to make sure the cotton fleece wouldn’t show through to the other side.
Overall, this took me about 2.25 hrs, not bad considering I did make some on the fly adjustments 😁 It’s also the only project I actually finished on my big knit day haha.
Reflections
I’m surprised that the fit is actually rather flattering? Not that I thought the design was bad, just that it might not suit my body type. It would be perfect for layering with one of the bigger jackets I have made since it is very slim.
Things I learnt:
- If possible, buy the pattern first and read through all the pertinent information before buying fabric 🤣
- The Maraflex did shred twice, I think this was because the cotton fleece is quite dense (as is the ribbing) and in parts there were multiple layers of the fabric. I think I managed to prevent this from recurring by slowing down at the bulky seams.
I think I would like to try making this sweater as intended. But maybe go up a size. The size 8 fits well, but is a bit snug when worn over my long-sleeve Heat-Tech. So as a sweater I think I would like it just a little bit looser. I’m also interested in the neckline of the Toaster Sweater #2 but the no-cuff, split sleeve ends as well as split hem doesn’t really speak to me. I’m not sure if I can just mash the parts I want from the two different sweaters, since the pattern pieces are completely separate, but maybe something to look into after I make the Toaster Sweater #1 properly first.
Some additional thoughts after giving it a test wear in Albany. The fit is actually fine but I still think I should size up one. Also cotton fleece is so dense it almost did dual purpose as a windbreaker lol.
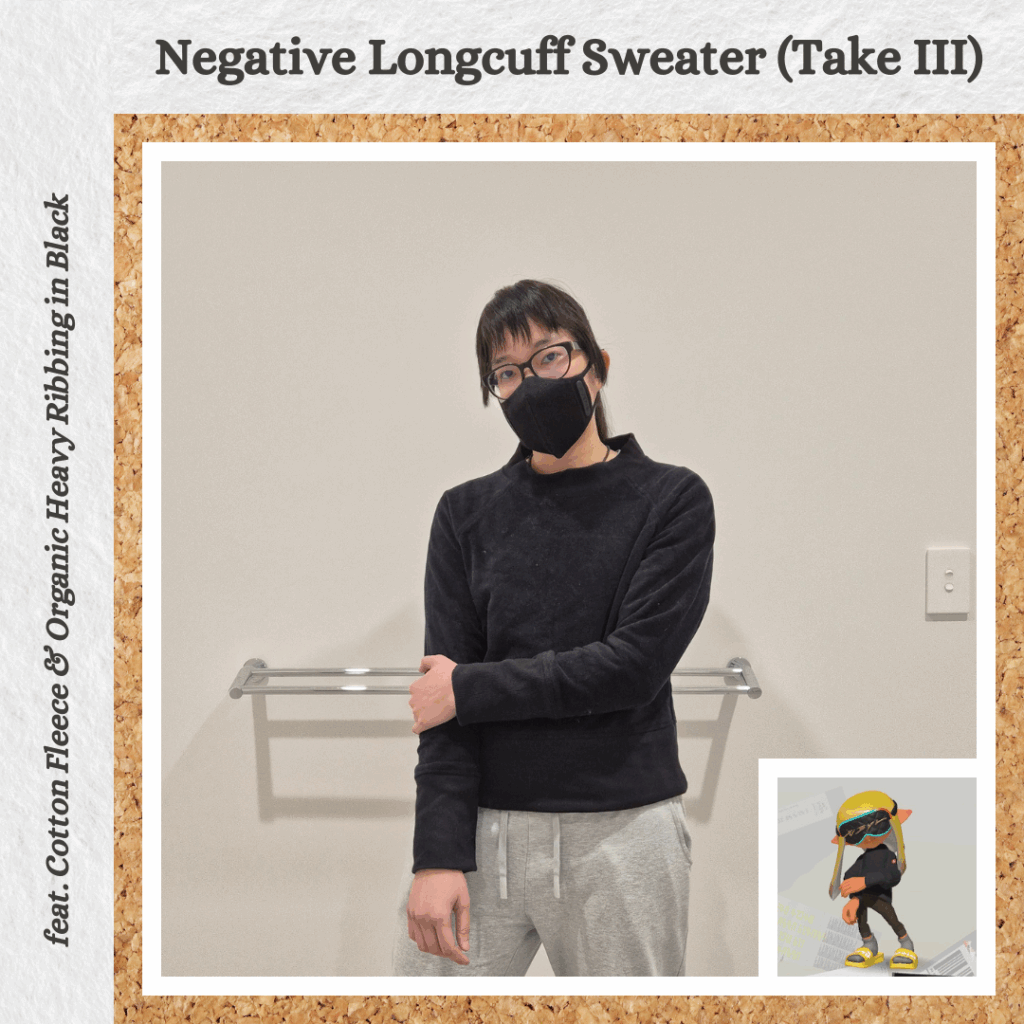
Ok, final thoughts now. I redid the main photo in the Splatoon pose and I was only wearing a t-shirt underneath and the fit felt perfect haha! So I think I will keep it size 8 (yaaaay, don’t need to trace out pattern pieces again) and pair it with short sleeves.
Categories: Sewing
1 reply ›