
Planning and Design
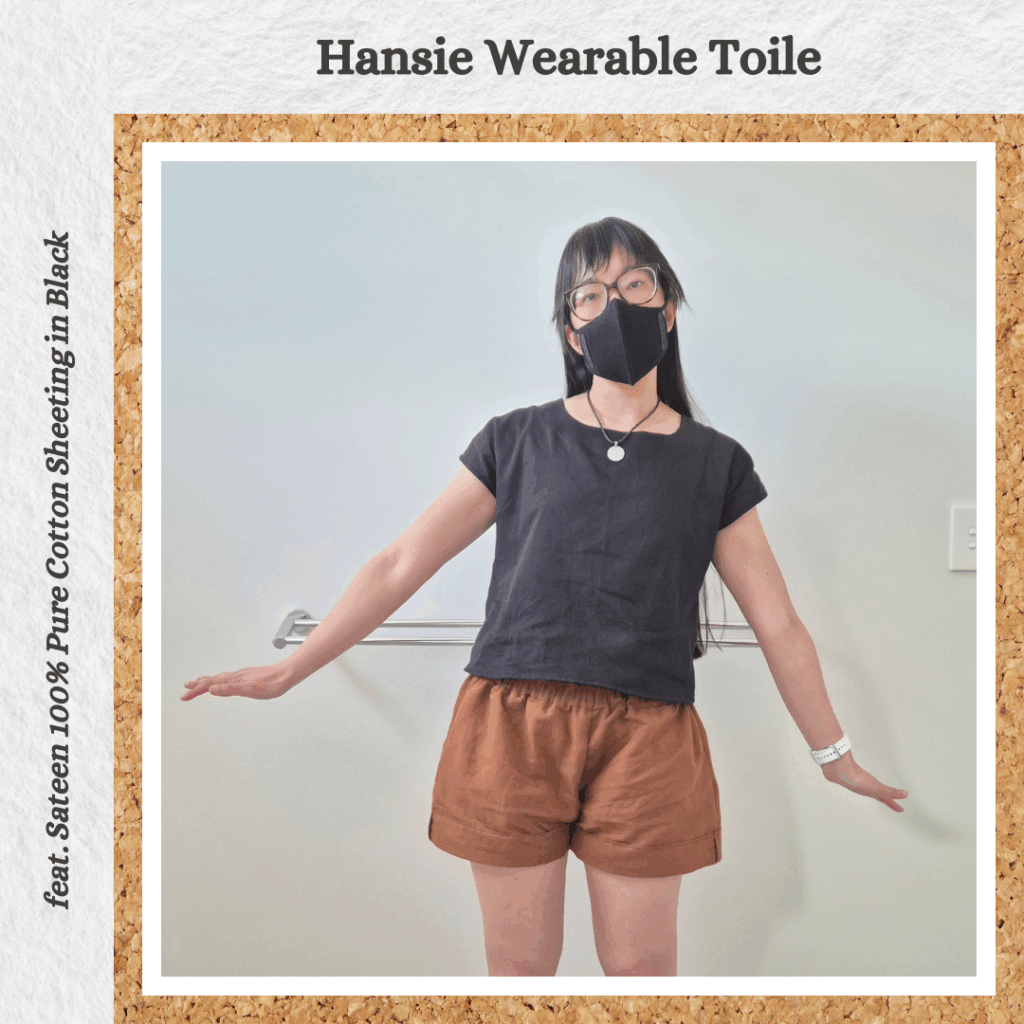
So I bought some cotton double-gauze from Core Fabrics with the intention to use the sage version on a new Ethel Top. But whenever I buy sage/rust fabric and they have rust/sage colourway as well, I always feel compelled to buy both LOL. So since I also bought the rust version, I was trying to think about a non-collared top that I could use the rust fabric on. And remembered that free Hansie top from Seamwork was a woven pattern. I recall when I downloaded it I assumed it was a t-shirt pattern, because so many free patterns are, but it ended up with a woven and I wasn’t sure what fabric I would use for such a top. But now I have my idea. So time to do a wearable toile before I cut into the good fabric. A toile would have required regardless though, because I found out Seamwork drafts for a C cup so I definitely needed to do a SBA.
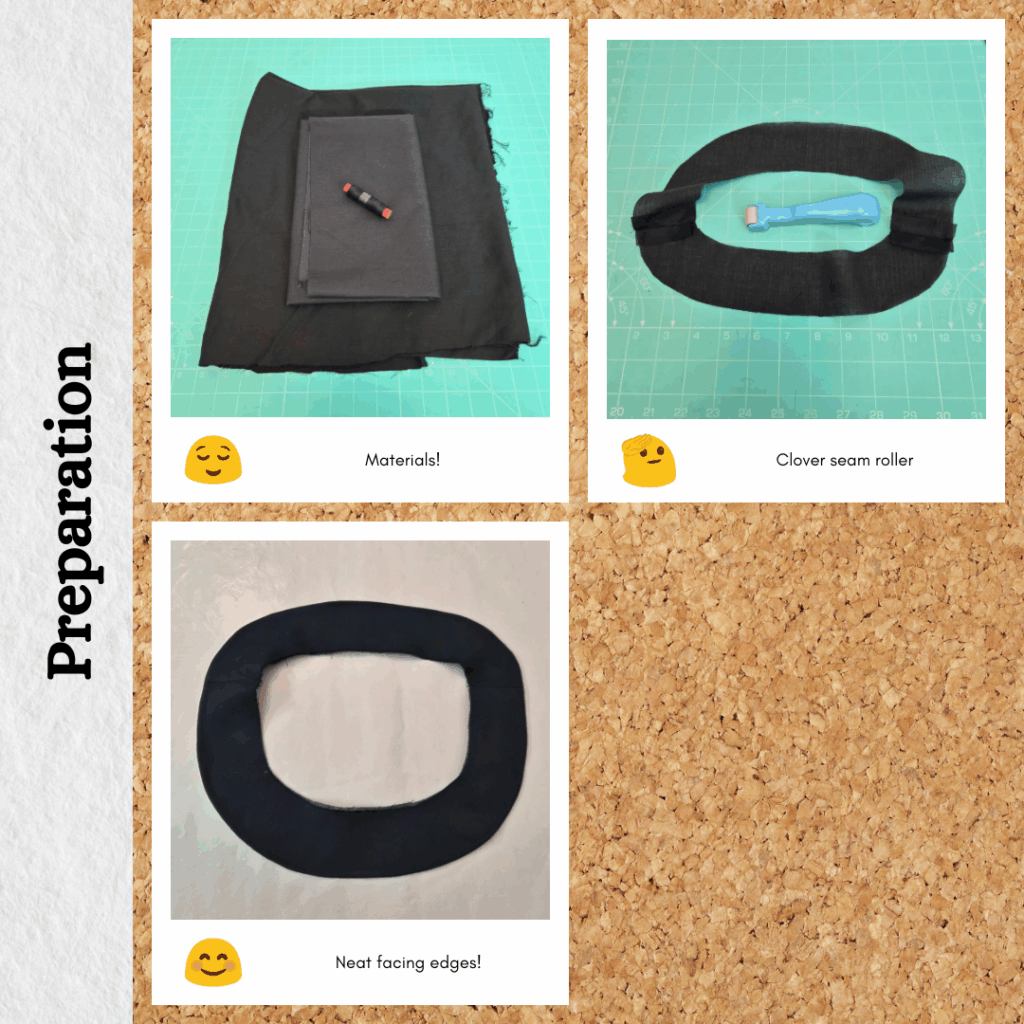
Materials
- Pattern
- Hansie (Seamwork)
- Fabric
- Sateen 100% Pure Cotton Sheeting – Black
- Thread
- Rasant col. 4000
- Interfacing
- 100% Cotton Lightweight Fusible Shirting – Black
Sustainability Check
👍 100% cotton sheeting is biodegradable
👍 100% cotton interfacing is biodegradable
🤏 Rasant is OEKO-TEX but not biodegradable
Construction
I don’t know how I realised, but Seamwork draft for a C cup which is pretty unusual. Which meant I really needed to do a small bust adjustment. I have done this before so the cutting part wasn’t too hard, but I do struggle with how to true all the moved side and hem lines… Would have been nice to have the rolly curve ruler for when I was trying to match side seam lengths. I’m sure this just comes down to experience. For now I just try to make sure it looks similar to the original curves in terms of angles etc. And as per usual, I extended all the seam allowances to 1.5cm.
I used the Closet Core clean finish facing interfacing method. Since I couldn’t iron the seams of the interfacing, I used the seam roller I bought for use on leather or synthetics. Sure would be nice to have pinking shears for trimming the curves.
I did my french seams in the order of 6mm and 10mm because this way I only need to trim the fraying parts of the edges, and since the fabric was so light I thought it wouldn’t hurt to have a bit of bulk to stabilise the seams.
I did 1cm double fold hems even though the hem allowance was only 1.5cm. Because I kinda wanted to match the width of the seams.
Reflections
Very easy sew and very surprised at how comfortable it is to wear! The neckline feels very bold but this might be due to the extreme contrast of the black fabric against my skin tone. SBA worked really well too. Super pleased with this free (albeit from a proper indie pattern company) pattern. The garment felt such high quality I wore it to work the next day haha.
Things I learnt:
- Neat method to attach interfacing to facings
- SBA from a C cup down to A cup
- Invest in a Stitch Buzz curve runner
- Invest in some pinking shears
Categories: Sewing
Leave a Reply