Main Fabric: Silk Cotton Organdy – Cream & Silk Organza – Oyster Cream (Remnant Warehouse)
I super procrastinated on this. And now that I’ve tackled it I feel so silly haha. I was getting really hung up on learning how to do a narrow hem. But I also wasn’t convinced a narrow hem would be a good idea. I have a calico pressing cloth that I bought at the same time as my ironing board cover, which is good but it doesn’t cover my whole ironing board so is a bit fiddly to iron whole lengths of fabric pre-cutting. This calico pressing cloth doesn’t have finished edges. Which makes sense because otherwise the iron would butt up against the bulkier hem when ironing. But if the pressing cloth is larger than the ironing board, then it would be fine right?
So I did a decent amount of research on narrow hems and identified these resources as the most useful:
- Sewing By Sarah – has instructions on dealing with corners (prefold and use fabric glue to keep it down) as well as tips on adding basting stitches to help feed the fabric through the narrow hem foot at the very beginning
- Janome – video that has a good tip on starting the narrow hem without any thread in the top needle in order to feed the fabric through the foot, then adding the thread once it is secure. But their example didn’t include corners since they rounded the edges of their fabric
- Treasurie – their tutorial on narrow hems covers corners but actually suggests using mitred corners as a better technique.
My thought was I could use the Janome method on the sides, but mitre the corners the Treasurie way, using fabric glue to hold the mitres down as per Sewing By Sarah. It would be fiddly and involve changing feet and multiple stitching passes, but I thought this would give me the result I desired.
Then I took out my fabric to prepare. I had calico (MaaiDesign), silk organza (Remnant Warehouse) and silk cotton organdy (Remnant Warehouse). I started ironing the calico and thought, when will I actually use this? Wouldn’t it be easier to use the organza or organdy since they are both lighter and sheer? And I have the smaller calico if I ever needed to use calico (which I’m thinking won’t be necessary). So after ironing I folded it nicely and put it aside LOL.
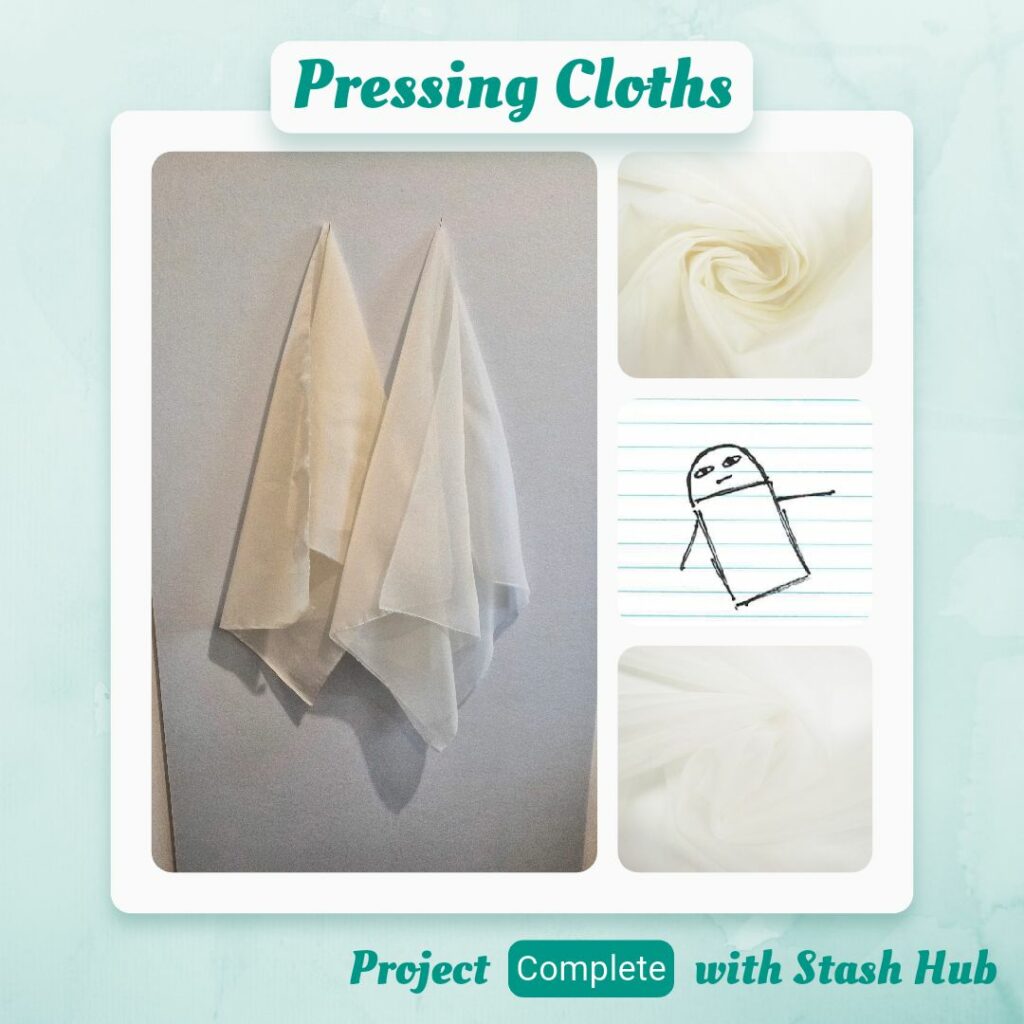
Then I moved onto…I actually can’t tell the organza and organdy apart haha. One of them anyway, the lighter less body one (would this be the straight silk one?). I compared the fabric length to my ironing board and figured I could use the full width of the fabric. Then I measured the width of my ironing board and added some extra and decided on 60cm. So measured this on the fabric and snipped past the selvedge and thought I’d try and tear the fabric. It tears really nice and easily. And this is when I realised that I could get away without any sewing LOL. I neatened up the teared edge by removing the stray threads and decided to apply the same to the other side. The cut was a bit skewed so I had to remove quite a bit so the fabric is probably closer to 52cm wide now. which is still wider than my ironing board so all good. The selvedge keeps the short sides secure and now the long edges have a similar finish to my calico pressing cloth.
So then it was just a case of applying the same to the other fabric. I neatened the original cut edge first then measured 60cm and teared the fabric along this cut and neatened all the threads. And done! This is why I feel so silly haha, I made it into such a big deal but then it ended up being a 30 min job (including all the over thinking and semi-prepping the calico).
I’m very happy with these and I have spare fabric for replacements once these bite the dust 😁 I’m mostly curious about whether the one with more structure or the more drapey one will be easier to use. I’ve tried both and don’t prefer one over the other. Although static seems to be an issue occasionally 🤔
Categories: Sewing
Leave a Reply