Planning and Design
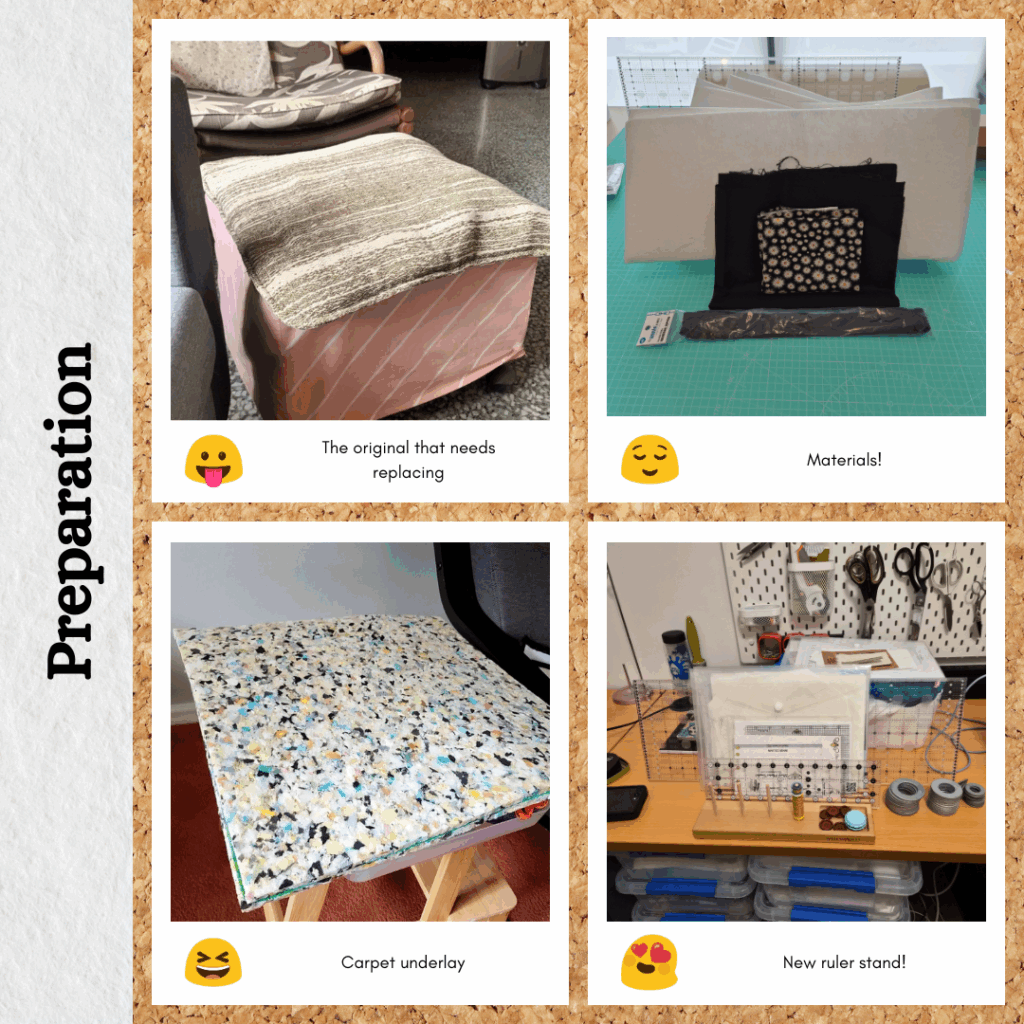
My mum asked if I could make a new cushion for my Grandfather’s foot stool because his one is literally falling apart and also can’t be washed. We agreed that I would use the thickest batting I could find for the cushion cover and use some carpet underlay left over from my mum’s recent carpet upgrade as the ‘cushion’. The aim was to have this complete in time for when my mum travels overseas for my Grandfather’s birthday.
Materials
- Fabric
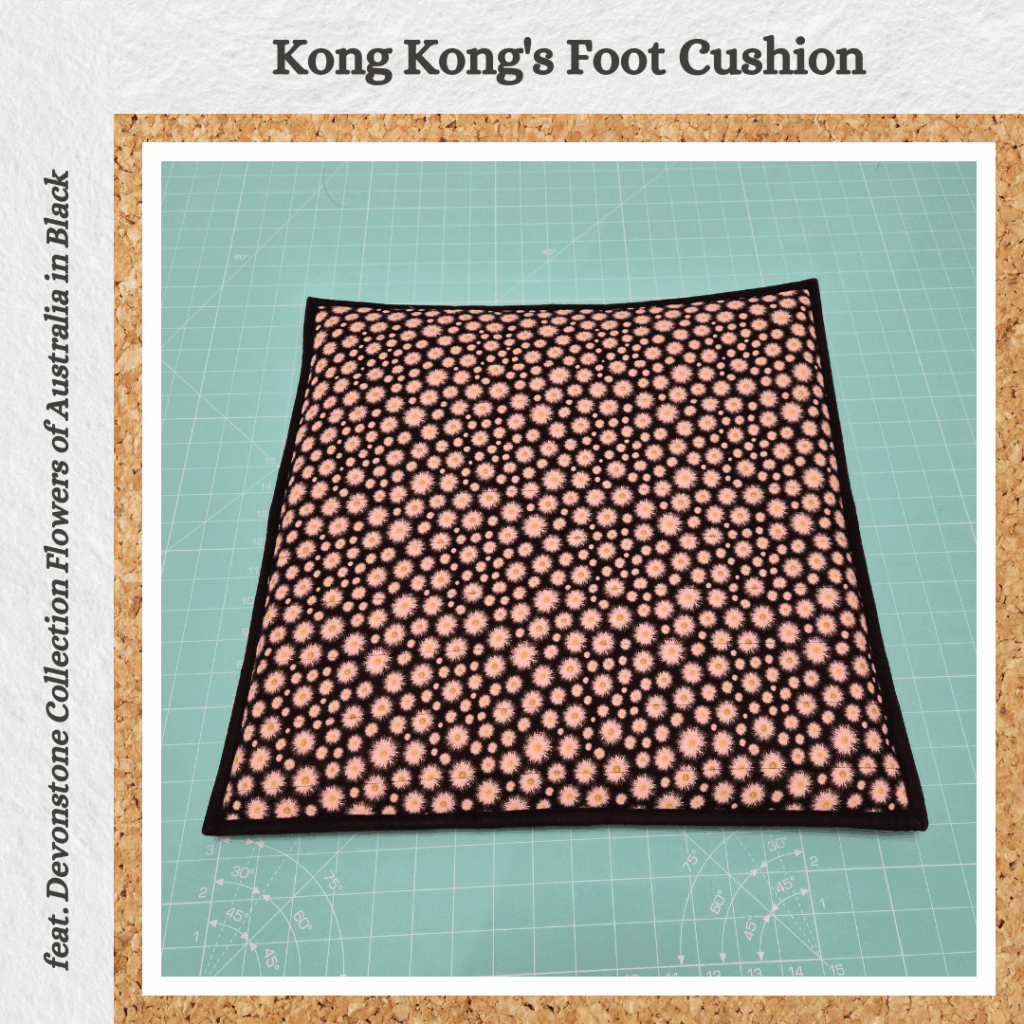
- Devonstone Collection Flowers of Australia – Black
- Riley Blake Designs Confetti Cottons Solids – Black
- Thread
- Rasant col. 4000
- Notions
- By Annie 40″ Zipper – Black
- Matilda’s Own Bag Batting
- Other
- Scrap Carpet Underlay
Sustainability Check
👍 Printed and plain 100% cotton quilting fabric is biodegradable
🤏 Carpet underlay is probably synthetic but it’s also repurposed from scraps
🤏 Rasant is OEKO-TEX but not biodegradable
👎 Zip is polyester
👎 Batting is polyester
Construction
Cushion Cover
I did a bunch of research to try and find the thickest batting available. By Annie’s is 4mm thick but I managed to find a 6mm one from Matilda’s Own. It’s a bag batting and it actually quite stiff, which is probably good because that means it won’t compact down.
Another request was that I use a dark coloured fabric so you can’t see dirt as easily 😝 I grabbed a black Australiana floral one from my stash and paired this with remnant black quilting cotton. I kinda wanted to use something Australiana because then it feels like it’s something from me (the granddaughter in Australia).
The required dimensions were 45x45cm. Luckily the fat quarter is slightly bigger than this. I quilted it down to the batting with simple straight lines 4cm apart. I didn’t have any issues doing this with the normal presser foot. And I got to use the guide bar that I bought that goes on the other side (left) of the presser foot! Instead of using the included one upside down like I have done previously LOL.
I didn’t really want to overlock the raw edges for back pieces, so sewed them to the batting with 6mm seam allowance and pressed it around the long edge to the other side. I had issues with the first back piece I did with the cotton upper and batting lower not really feeding through at the same rate. So the second one I flipped it around and it sewed perfectly fine.
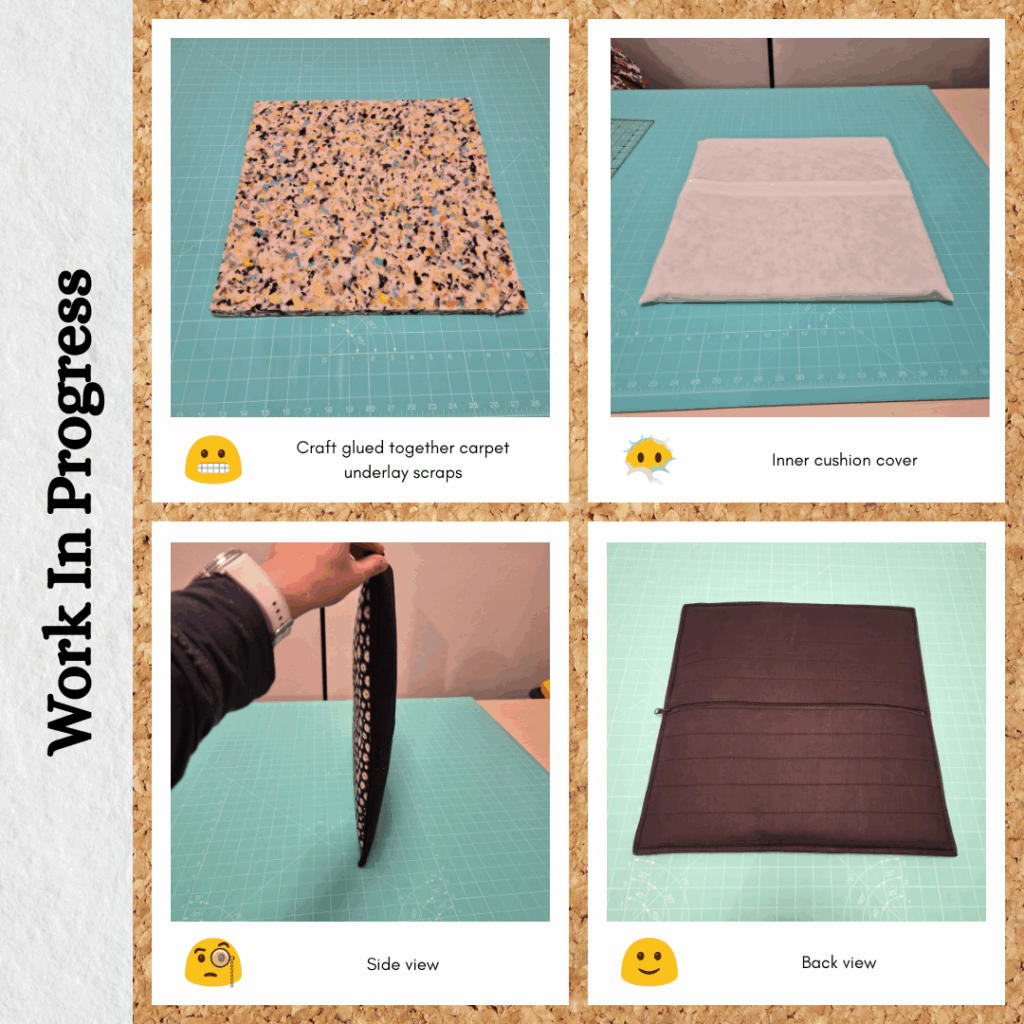
I knew from past experience that attaching zips to batting is very painful, so I first secured the cotton fabric wrapped around the batting raw edge with water soluble thread. Then I attached the zipper tape on one side with more water soluble thread and sewed the down with my zipper foot. Then attached the other back piece to the zipper tape on the other side, but used some wonder tape to hold it down so that I could reinforce it with water soluble thread and then machine sew this down too.
I wanted to quilt the backing pieces the same way as the top, but I was having a lot of trouble with the fabric and batting not feeding through nicely and ending up with puckers. So unpicked that and attempted it again with the walking foot which fixed the issue. If that hadn’t worked though, I recently (re)discovered thanks to The Sewing Machine Man that my sewing machine has differential feed options as part of the AccuFeed Walking Foot 🤣 I always thought it just meant it came with the foot included, I didn’t realise I could adjust the differential feed like with my overlocker.
I had learnt from my Ace Attorney Cushions that zips are more fiddly than usual when working with battings, so made sure to hand baste everything before sewing. I also have learnt a bit about the best way to attach two bulky pieces with long edges, so only sewed one edge together with a zig zag stitch, checked alignment, then sewed the adjacent sides, making sure to start from the already sewn edge, then trimming the last edge and sewing that. No unpicking required for once LOL.
I had thought about trying to apply the Sew PRECISE Sew FAST Machine Binding technique on this, but I haven’t figured out how to wind a bobbin with my water soluble thread yet… But then someone asked a question about attaching bias binding in the Modern Makers sewing group and someone else suggested attaching it to the back and topstitching from the front. I’ve never been a fan of this method for quilts, but I realised that I would quite like the topstitching detail on a cushion. So went with this instead. I also have learnt that trying to sew things that are held together with quilting clips usually doesn’t go well for me (I’m not conscious or careful enough to make sure they don’t get knocked around and off the thing I’m sewing), so did more hand basting. But I’m pretty ok with hand basting things now that I have water soluble thread 😋
Cushion Insert
I didn’t realise I was going to have to assemble this as well 🤣 First, needed to attach the two pieces of carpet underlay plus a random corner piece. My mum suggested hand sewing at at couple of points (definitely wouldn’t fit under my sewing machine foot…) but this didn’t sound very sturdy to me. Plus, the underlay had a bit of a mesh backing which I’m sure would have felt disgusting to try and sew through (it made a crinkling noise when you waved the underlay around). So I dug out the craft glue (stored in my walk in linen, not with my sewing stuff) and liberally painted it on. Straight from the bottle haha, it’s been so long the nozzle had sealed itself shut so I was just ‘blurping’ out the craft glue in huge blobs and using the removed and unusable nozzle as an extremely inefficient brush LOL. It worked well enough but also reminded me that I quite dislike the sour smell of craft glue 😅
Then I had to create a cushion cover for this too. So that if the actual cushion cover needed to be washed, it would be easy for my grandfather, uncle or mum to remove the makeshift cushion insert. Which is fair enough, I felt like handling the carpet underlay directly too much would result in it disintegrating since it looks like a composite of foam pieces. My mum had brought some old bedsheet already mostly precut. I just straightened one of the edges and folded over to finish the edges. Then I placed the makeshift cushion and estimated I needed to do a 1.5cm seam to make something that would fit but not be too tight to try and put the makeshift cushion in.
Reflections
I did straight line quilting but I feel like along the way it ended up not really parallel to the edge of the cushion haha. I think this could have been avoided if I had measured things better. I blame doing the measurements and cutting at night after work. But other than that I’m pretty happy with how quickly I managed to pull this together, and I think the quality of the case (ignoring the visual aesthetics from angled lines) is high.
Things I learnt:
- I don’t mind (may even prefer) attaching the bias binding from the back for things like cushions and bags
- I should lean on washable thread whenever possible 🤣
- My sewing machine has a differential feed setting
Anyway sounds like he likes it because it is quite firm 😊
Categories: Sewing
1 reply ›