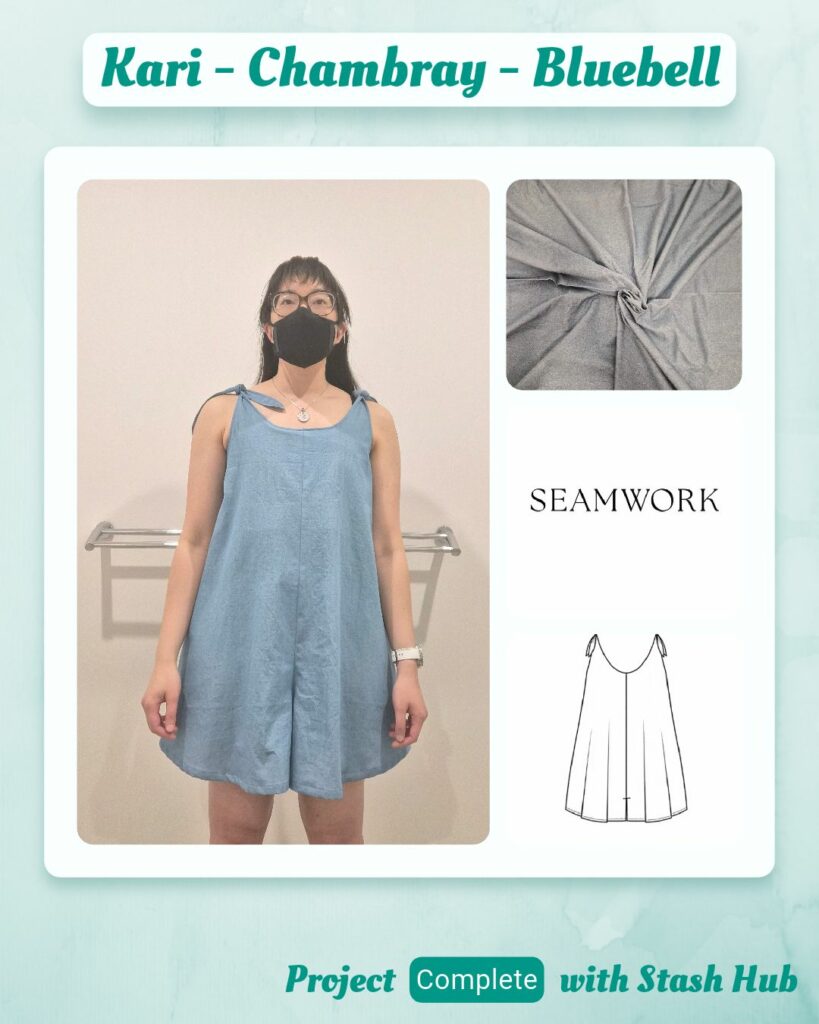
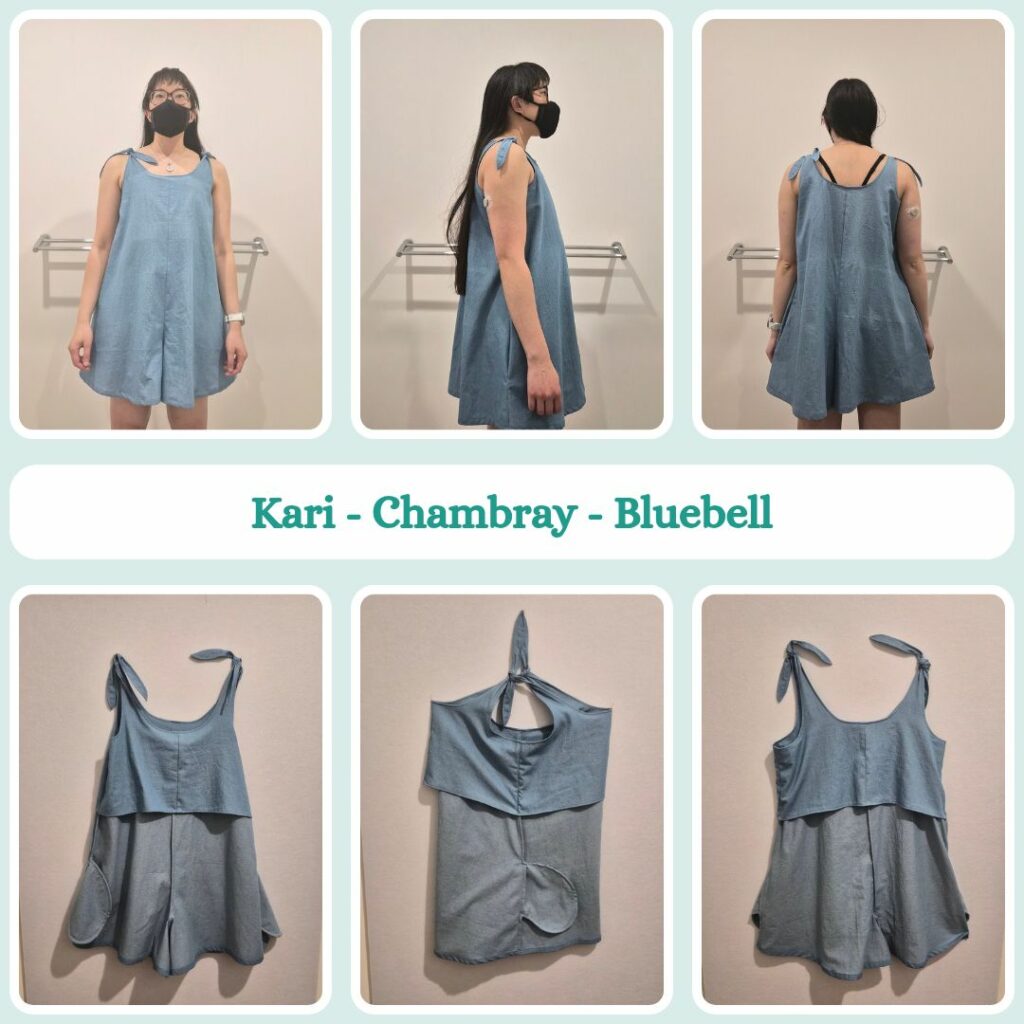
Planning and Design
I have a lot of jumpsuit/romper patterns I want to try but have started with this one because:
- I have toiling fabric ready
- It seems fairly simple
- I LOVE the fabric I’ve earmarked for the real deal so the faster I can get to that version the better
- I have a birthday high tea that I feel this would be suitable to wear to (not too dressy but also fancier than my normal clothes)
Materials
- Pattern
- Kari Romper (Seamwork)
- Fabric
- Cotton Chambray – Bluebell (Remnant Warehouse)
- Thread
- Rasant col. 1342
Sustainability Check
👍 Cotton chambray is 100% cotton so fully biodegradable
🤏 Rasant is OEKO-TEX but not biodegradable
Construction
Fitting and Pattern
I purchased a Sew Over It workshop on fitting jumpsuits prior to tracing the pattern. It was going to be a test to see if it would be worth signing up for their Stitch School. Honestly, I’m not impressed. The quality of the video was pretty poor (which I can overlook since it might actually be an old video) but what I was quite annoyed about was they brought up a good fitting point, talked about how to measure things, but didn’t show anything. Is this really a ‘workshop’ then? It’s just someone talking at the camera. And it was the kind of thing I feel like Closet Core would have included in their fitting guidance as part of the pattern. Not that I’ve bought a Sew Over It jumpsuit pattern but I assume if they are charging 10 bucks for this video they aren’t including it with the pattern instructions. So now I have something I should be taking into account but am not 100% sure how to go about actioning it. I feel like I’m worse off than before I started lol.
But I might as well try it to the best of my ability. Since it’s paid advice I probably can’t go into detail on the measurements I’ll take but I will do it and in the Reflections I’ll say if it made any sense or not 😑 From my measurements I think I might have not quite as much ease as recommended, especially since the Kari looks like quite a loose fit jumpsuit, but I’m just going to make a straight size 8 (measurements match my waist and hip) and see how that ends up. Since this is a wearable toile and all.
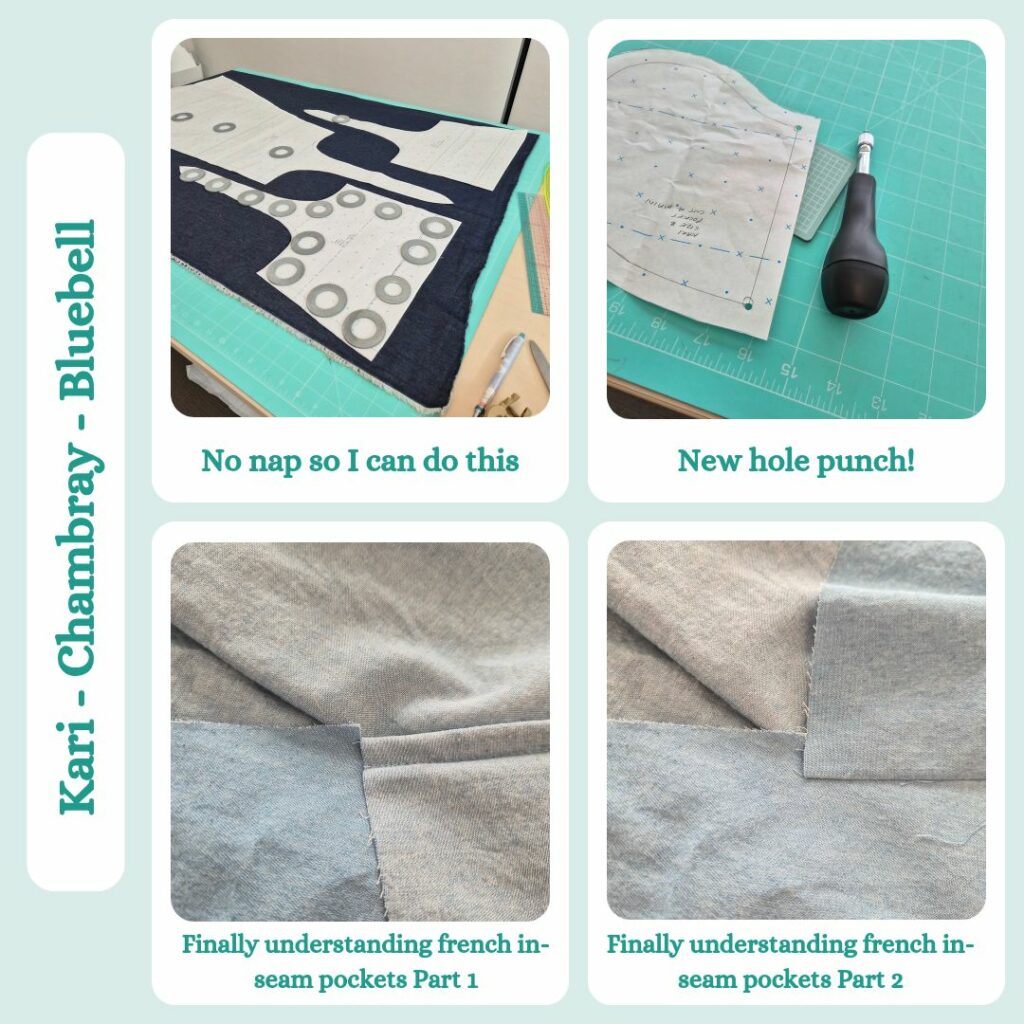
I didn’t realise the non-curvy pattern has no dart. Yay! And it has 1.5cm seam allowances. Also yay! Since I plan to make this with french seams throughout. I also got to use my brand new hole puncher, I think it’s designed to go through leather so I’ll need to gradually learn the least about of pressure to put on it to just get through one layer of paper. And mark the circles so they better match the size of the hole puncher.
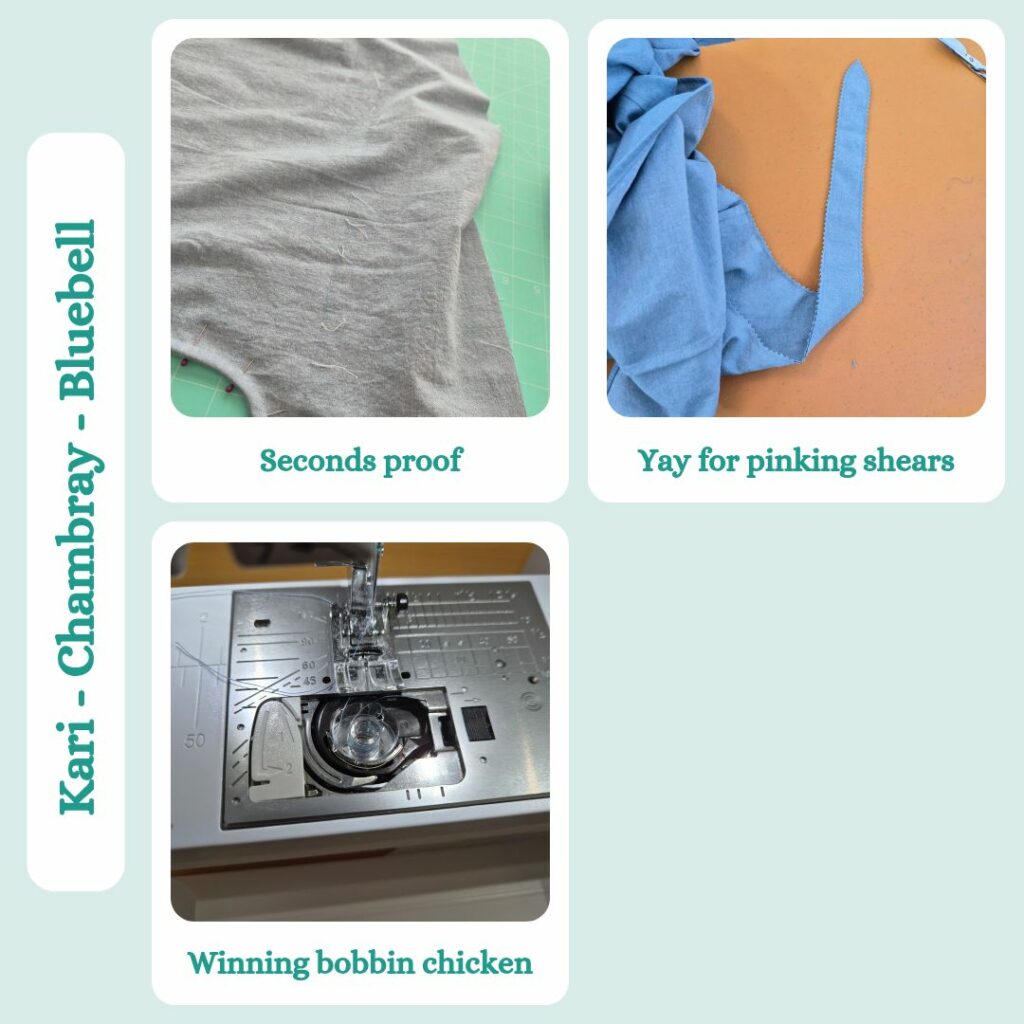
I was planning to make it out of the spare fabric from the indigo chambray Anna shirt, but turns out it wasn’t quite enough so got out the bluebell chambray leftover from the Clayton shirt (I had a lot of this leftover for some reason and I realised afterwards that it was because parts of it had faults on the wrong side and from experience I think Remnant Warehouse don’t really communicate when there is a fault, they just give extra haha). I consulted the Minerva fabric guide to check if chambray had nap and it didn’t mention anything about it, so cut the lining pieces ‘upside down’.
Sewing
This was a very chill sew since it was all very simple, even with french seams. I had considered not bothering with the pockets, but since I still can’t remember how to do inseam pockets with french seams I figured I should continue practicing the methodology and so got out the trusty In The Folds tutorial. At least I’ve gotten to the stage where I just need a refresher on which way each piece goes. It makes more sense to me now, since it’s french seams the first seam should always be wrong sides together. And I finally understand how to clip the first seam so everything sits nice and flush. And since I’m doing 16mm french seams (6mm, trimmed to 3mm then 10mm) I made sure to finish the pocket opening with a 10mm french seam (the tutorial uses 6mm and 6mm).
For the lining, I understand why they say to finish the hem without removing length (they want it to lie nice and flat) but since this a wearable toile and I like having no raw edges and I didn’t want to use the overlocker for just that one part (partially laziness, partially it’s not consistent even though no one will see it), so figured I would try it with french seams and I would just nest them with the main body’s french seams. And did a double fold 6mm hem. This was the only part I needed to unpick (I was quite amazed that I didn’t need to do any unpicking to this point) because I was trying to plan which way I needed to press the french seams for them to nest and the side seams were the one spot I got it wrong (I think I got confused because usually I would press the seams to the back for the main garment, but because of the pockets they get pressed to the front).
The longest part of the whole make would be attaching the lining to the main body and turning it out. I saved time by using the pinking shears instead of clipping the curves. But I do wonder if I could use a version of the Closet Core collar corner turning out method on the pointy parts of the shoulder straps. Then I could just pull out the straps and get a nice point as well. I did at least reduce my stitch length around the corners and gently poked the point out using my wooden point turner.
The pattern instructions say to understitch where possible. I get they are going for a clean look hence no topstitching, but I like topstitching, and this is a wearable toile, so I did 6mm offset topstitching all the way around the top. And then for the leg hems, the instructions say to turn under 6mm then 13mm, but 6mm with french seams is a little annoying, so I did 10mm and 15mm, cos I don’t mind a shorter leg. And then, that was pretty much it! Felt like a fast make. And I won bobbin thread chicken 😁
Reflections
I think I probably tied the ties quite high up because I have no bust and this was the only way to make it sit nicely, but I think it works fine. There’s definitely enough ease in the crotch and even though there is a little bit of gaping at the underarms, it’s the kind of thing that won’t be seen often and isn’t uncomfortable. I was a bit worried because the Willis required me to remove a lot from the side but that wouldn’t have been possible with this because it needed to be that wide to get over my hips LOL.
Maybe because the fabric is quite light, the french seams and double fold on the lining piece hem weren’t an issue at all. Maybe they just won’t really be an issue since it’s such a loose fit?
I’m actually unsure how to give a verdict on the Sew Over It tutorial guidance, where exactly do I measure to and from and is it really that useful if I can only measure once the garment is complete?
Things I learnt:
- Using the hole punch for the first time
- How to properly do inseam french seam pockets
- Maybe try the Closet Core collar point turning out method on the shoulder ties
So it turns out I don’t have enough fabric for my planned version 😭 The back piece is just too wide to fit on folded quilting cotton … I’m hoping next time I’m in Japan I’ll be able to find more of the same fabric. But I guess that means I won’t be making the real deal for a while yet 😅
Categories: Sewing

Leave a Reply