Planning and Design
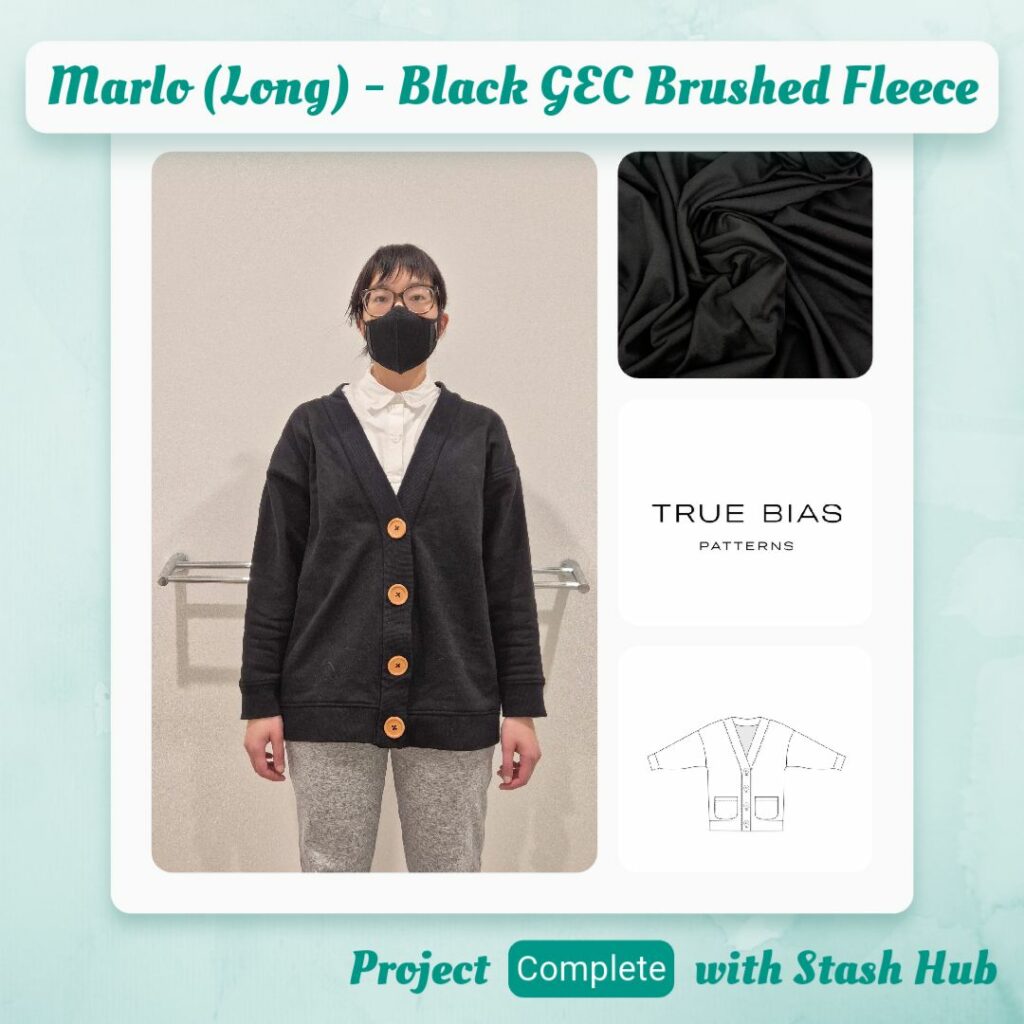
I was originally planning to make this in a modal knit but the weather suddenly got quite cold in Perth (or is it just I finally left the house after my week off, lol) so I started thinking it would be better in a thicker knit. I had this Brushed GEC I bought because I really like Good Earth Cotton and I think I was going to see if I liked the long Marlo or the Style Arc knit Cardigan more and make it in that. Well just gonna skip a step and just make this as the long Marlo 😝 and the other modal knit can be for a black version of the short Marlo (maybe).
Materials
- Pattern
- Marlo Sweater (True Bias)
- Fabric
- Good Earth Cotton® Heavy Brushed Sweater Knit – Black (MaaiDesign)
- Organic Heavy Ribbing – Black (MaaiDesign)
- Buttons
- 4-Hole Classic Rimmed Wooden Button – Beech (Homecraft Textiles)
- Thread
- Maraflex col. 000
- Madeira Aerolock Overlocker Thread – Black
- SoftLoc™ Tex 35 Wooly Poly Thread – Black
- Notions
- Design Plus Bias Fusible Tape – Black
- Non-woven interfacing
Sustainability Check
👍 Good Earth Cotton is really cool. Not only is it fully biodegradable, their website describes it as climate positive, audited and traceable cotton.
👍 Ribbing is 98% Organic Cotton, 2% Elastane so technically biodegradable
👍 Buttons are wood so biodegradable
👍 Maraflex is compostable. I’ve been saying for a while it’s biodegradable but relooked it up and it doesn’t degrade in marine or fresh water. But given how I’m using it, the compostable factor is probably more relevant
👎 Overlocker threads are both 100% Polyester
👎 The Bias Fusible Tape is 65% Polyester and 35% Cotton
👎 Non-woven Interfacing is likely 100% Polyester
Construction
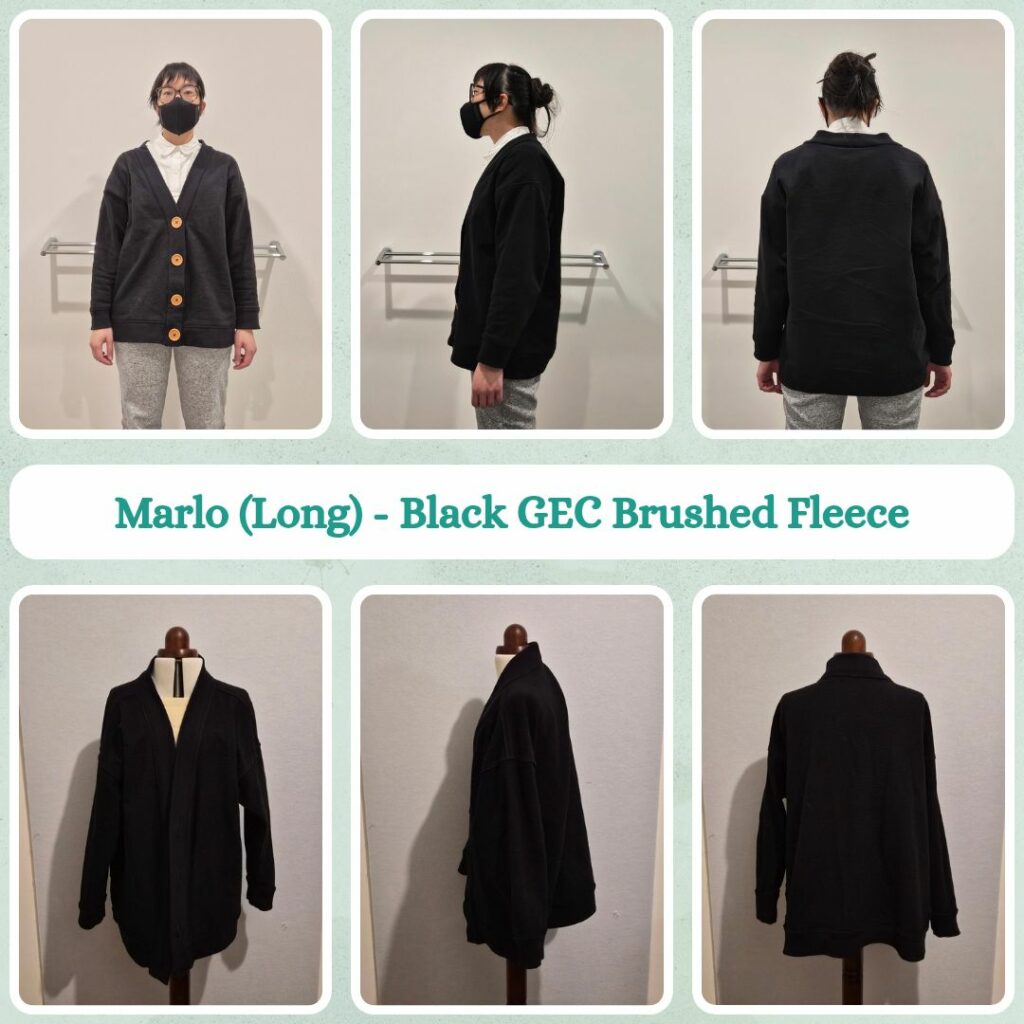
I went back to see what I did for the short Marlo in terms of sizing and I chose that one based on my waist since it was cropped above the hip. So since this one does go past my hips I decided to make the size 10. The instructions did talk about grading between sizes (they probably all do and I never do) but I decided I may want to wear this over a light sweater so a bit bigger is better.
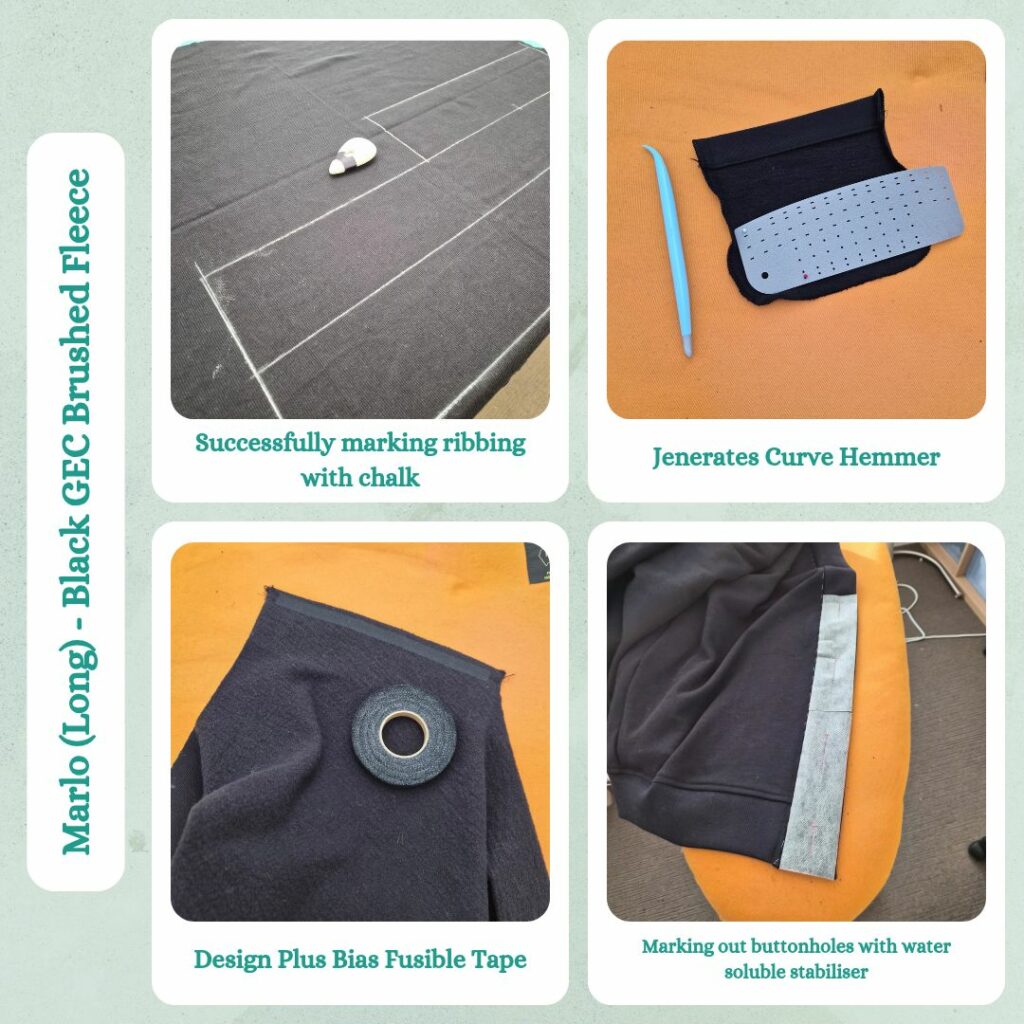
I wanted to make the entire cardigan out of the main fabric, but I didn’t have enough since my original plan was to use ribbing. So use ribbing it was. I tried out my chalk marker on the ribbing and this is definitely the best way to mark up ribbing so far. I also used my Clover marking pencil for the main fabric and that worked nicely too. It does rub off a bit during construction but still leaves enough to be useful. And easier than doing tailors tacks haha.
I did prepare the pockets but I forgot to transfer the markings for the pocket placement onto my trace. So I set them aside thinking I might as well just put them on last where I would like them (as opposed to where the pattern says to put them). But the more I think about it, I might just omit them. I don’t really find pockets useful on long cardigans/jackets because the weight (say of my phone) is too low and is uncomfortable/makes me uneasy about the safety of the things in the pocket haha. But at least I got to test my Jenerates curved flex hemmer that I actually don’t remember buying lol. And my Clover pointer tool thing since the steam was too intense to hold things down using my fingers…
I decided to use a non-woven fusible interfacing since my woven fusible interfacing is quite light and I think this needs more structure for the buttonholes. Also my overlocker threads include Softloc which brings down the sustainability score, which reduces my motivation to make the rest of the garment out of sustainable/biodegradable components. I also used Design Plus Bias Fusible Tape to stabilise the shoulder seams. The instructions suggested clear elastic but my sewing machine (and I) are not big fans. I did consider using cotton tape, but figured this way it would be less bulky. I also overlocked the shoulder edges so I could press the seam open, I didn’t want a big bump when the sleeve was attached to the body.
With the previous Marlo sweater, I had issues with the way the neckband sat. I did a test of the ribbing using my Stitch Buzz stretch ruler and it was well over 40% so used that piece. And last time I asked in the Modern Makers group about the neckband issue and was kindly given some suggestions of things to try. So I did one of them, which was to split the neckband from marking on the front piece into 8ths and doing the same on the body and lining these up, in order to ensure the distribution was even. I also did a Option 1.5 on attaching the neckband (Option 1 is the easy way with exposed seam, Option 2 is the neat way with enclosed seam) by sewing just one side to the body, sewing the hem neatly at the bottom and turning out, but then topstitching the seam allowance of the free side to the body. To be doubly sure I handbasted with water soluble thread.
For the buttons I went to my stash of big buttons and there were the perfect buttons right in the first tray. Exactly the right number and a good complementary shade. Luckily my automatic buttonhole foot was able to create a large enough buttonhole on the max setting.
Since I have had pretty good results using soluble stabiliser when sewing buttonholes onto knit fabrics decided to do the same here. But since I have so much and I have no idea if there is a shelf life figured I could make things easier for me by tracing the buttonhole placement on a (almost) continuous piece and sticking this directly onto the neckband. No need for me to manually mark/measure where each one should go on the neckband. And I figured that cutting the buttonholes would be easier with the stabiliser since it’s easier to see where the stitches are. Usually I use a buttonhole chisel but I usually end up cutting the stitches on the wrong side when dealing with knits with loft so opened them as much as possible with a seam ripper and then cut just the stabiliser with the seam ripper as a guide for using my duckbill scissors to fully open them up. Then I realised I could save some of the stabiliser by cutting away the parts not sewn over and re-sticking them to the backing 😁
Reflections
So it still has the issue of the collar band not sitting very well. Maybe next time I might try draft a curved back like the Balloon Cardigan has. Also despite going for a size that should be oversized I feel like it’s kinda tight over my hips? I also wonder a bit about the v-neck, I realised while I was making it that it’s drafted for a C-cup and usually I figure this doesn’t matter for oversized garments, but maybe it does when it’s a v-neck? I don’t have issues with the cropped Marlo though, which is a smaller size. I think I’ll just have to take mental notes this winter while I wear my Balloon Cardigan, Marlo Sweater and Sabel Boyfriend Knit Cardis and figure out what I like about each one. And then maybe make a franken-version 😋
Things I learnt:
- Chalk marker is good for marking up ribbing!
- Using the Jenerates curved flex hemmer for pressing
- New ‘method’ to attach the neckband that is neat but not fiddly
Categories: Sewing

Leave a Reply