Planning and Design
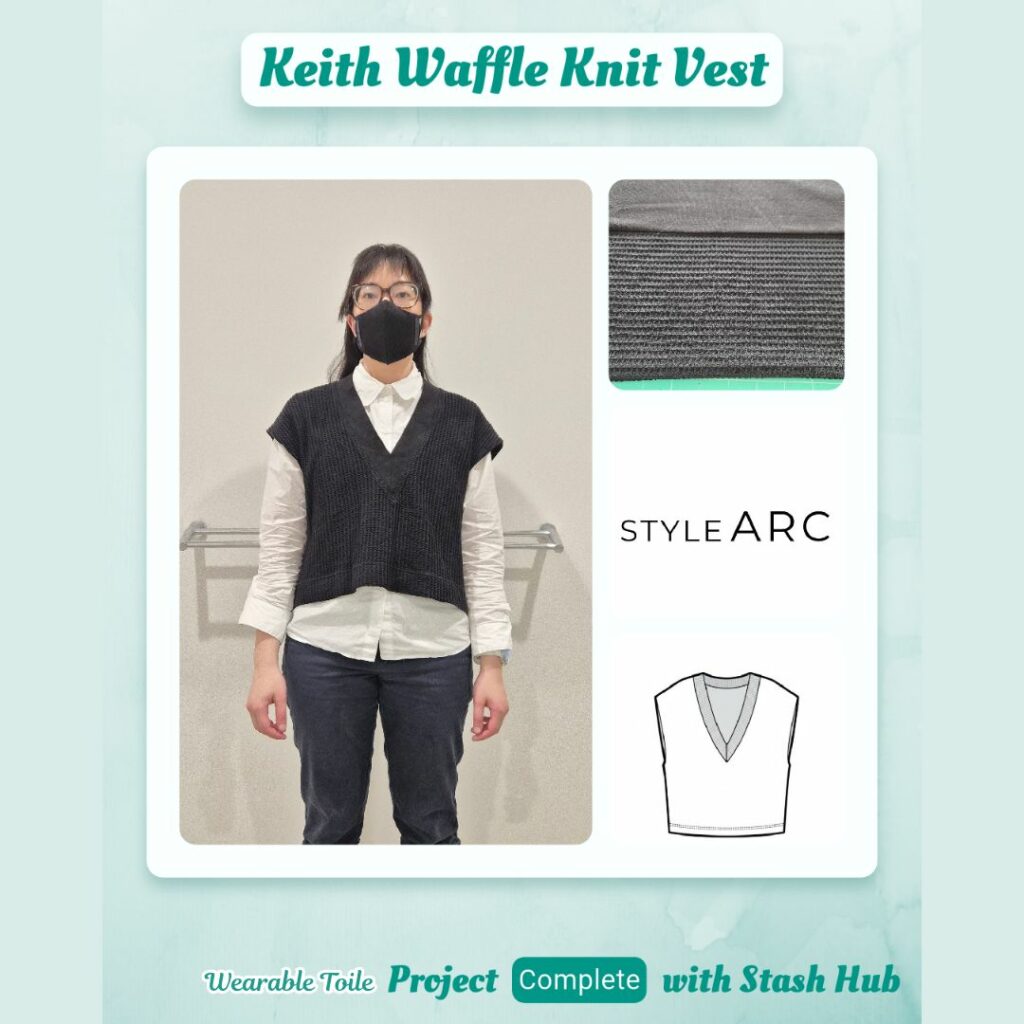
I was meaning to make this for a while but I never got the timing of the seasons quite right. Which kind of worked out because during that time between intent and actually making, Style Arc put out a newsletter showing a cropped version of this vest, which is what I’ve ended up doing.
I basically saved the remnant fabric from the Short Knit Layers Splatoon make for this, so good to get it out of my stash finally haha.
Materials
- Pattern
- Keith Knit Vest (Style Arc)
- Fabric
- European Loose Weave Waffle Knit – Black (Wattle Hill Fabrics)
- European Smooth Ribbing – Black (Wattle Hill Fabrics)
- Thread
- Madeira Aerolock Overlocker Thread – Black
- SoftLoc™ Tex 35 Wooly Poly Thread – Black
- Maraflex col. 000
- Notions
- 6mm Cotton Tape – Black
Sustainability Check
👍 Waffle Knit is 100% cotton
👍 Ribbing is 95% cotton, 5% elastane so technically biodegradable
👍 Maraflex is 100% polybutylene terephthalate and compostable (as long as it’s not in marine or fresh water)
👍 Cotton tape is 100% cotton so fully biodegradable
👎 Overlocker threads are 100% Polyester
Construction
I really need to stop lining up cut lines with the thick solid lines of the dot and cross paper because I always end up cutting along the seam allowance line instead 😣 I decided to make this cropped because I’m pretty sure the full length vest would not suit me at all haha…
Ribbing wasn’t wide enough to cut the neckband on the fold so just added 1cm seam allowance to fold line. And I didn’t check if I would have enough fabric, I assumed it would be enough and I was luckily just right in terms of width.
I planned out the sequence of machine/threading:
- Gloria 4-thread overlock with wooly nylon – shoulder seams with cotton tape in seam
- Skyline with Maraflex – v-neckband construction, stay stitching, neck band attachment
- Gloria 4-thread overlock with wooly nylon – side seams
- Gloria coverstitch with wooly nylon – armhole and hem and neckband ‘topstitching’
I read through the instructions and decided to switch up the construction order a bit. I wanted to sew the sleeve hem last for a nicer finish. I should have stay-stitched before sewing the shoulder seam though… While I was sewing the shoulder seam I kept thinking about how I was probably stretching the v-neck…
For the shoulder seam, I wasn’t sure which marking was for the 1cm allowance (it was hard lining up the fabric edge to the markings on the cover plate anyway) so drew in the seam allowance instead and matched this with the second marking on the presser foot. This was also helpful for aligning the cotton stay tape 😊 It took quite a bit of coordination to line everything up in one go haha. I also made sure to not include the cotton stay tape in the hem allowance.
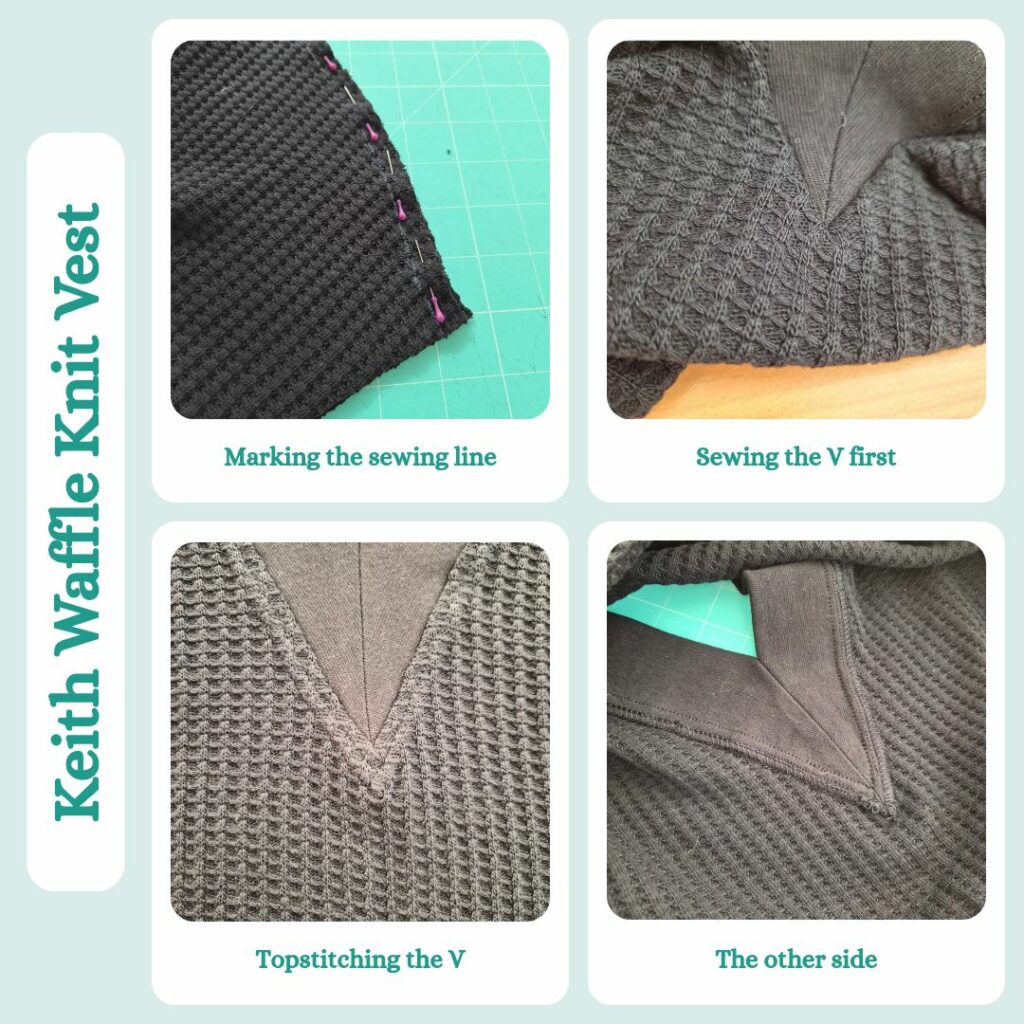
I did follow the suggestion to just sew the v-part of the neck first and surprisingly I got it decent in the first go?! I had forgotten to transfer the neck band markings but it didn’t seem like it would be too hard to ease the neckband in so just went ahead and did it by feel (although honestly it barely required any stretching).
For the side seams I just trimmed off the sleeve hem corner things since I wasn’t constructing the vest in the suggested order. If I was using a woven instead of a knit this would have been a problem because the sleeve is a V as well, but because of the stretch I was able to fudge it when it came time to hemming. I knew from the Long Sleeve Layering Pieces project that I didn’t really like the effect of the washed out wondertape (it made the hems feel a bit stiff even though the tape was meant to wash out) so I instead basted it with water soluble thread. I recalled from the Coverstitch Master Class that it’s advisable to clip the seam at the hem fold point so you can push the seam allowances different directions and this really made a difference. Having the water soluble thread was handy for coverstitching, I used the wide coverstitch and placed the hem so the basting thread matched up with where C2 needle would have been. And this did a good job of catching the full hem but also not having too much overhang on the wrong side. For the main hem I positioned the hem the same way and then just adjusted my Gypsy seam allowance tape to match the edge of the hem and used that as a guide.
Then it was time to coverstitch the v-neck and I figured I should probably look this up. I found this forum thread useful and did as suggested, starting the coverstitching at the middle of the v. I lined up the border between the ribbing and the main fabric with the 4th mark from the left on the coverstitch foot and this ended up being perfect to fully encase the ribbing raw edge. I did think about stopping at centre back and starting again from the middle, but I wouldn’t have done this if I was topstitching on the Skyline so just went the whole way around. I think I managed to match things up pretty well. Not that it matters because the colour and the texture of the fabric means no-one will likely be able to tell.
Reflections
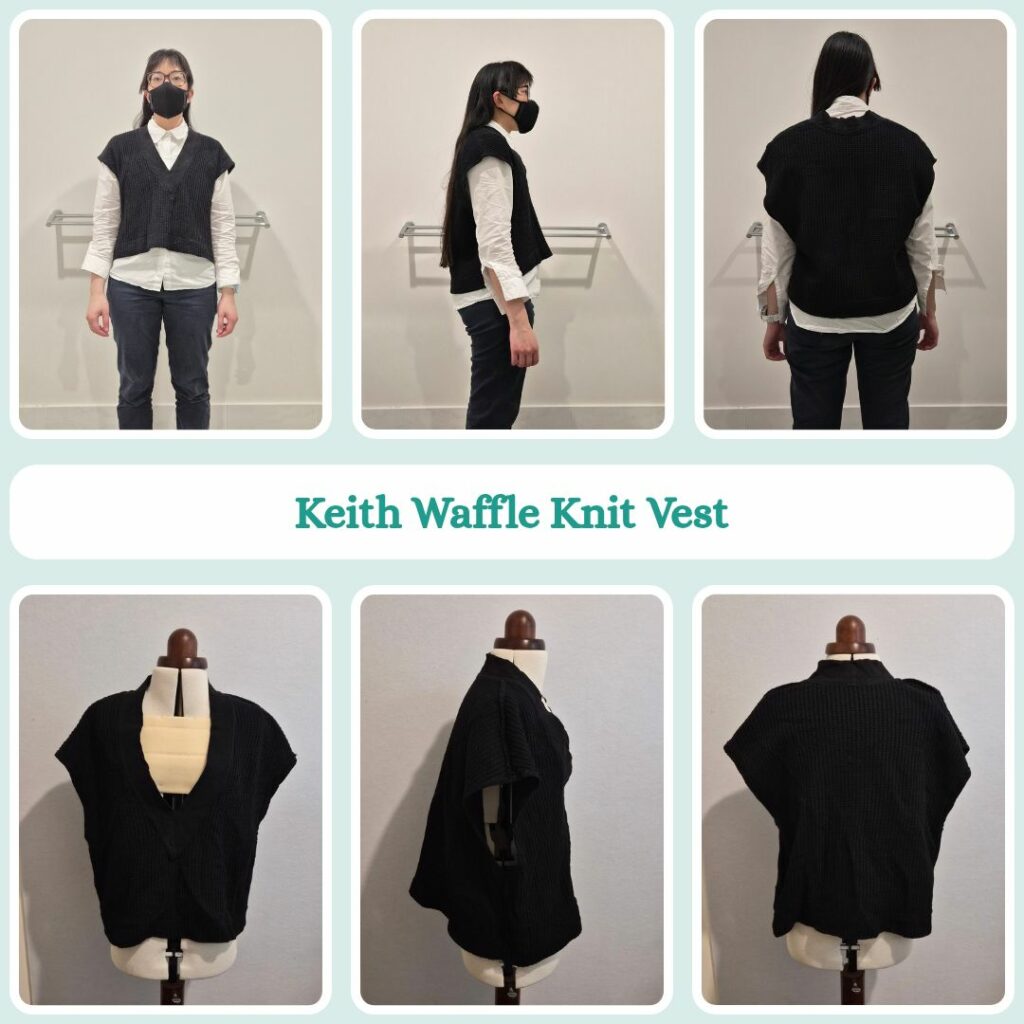
I think the neckband needs to be shorter so it doesn’t have wavy edges? Or is my ribbing fabric not high quality enough? 🙁 I’m thinking it’s the length because I barely had to ease it in at all, it almost matched one to one. Other than that I’m pretty happy with how this turned out. No issues during construction and I think the length ended up pretty good, because I wanted it cropped enough that the shirt tails are visible. I do think the fabric is probably too soft though, so it doesn’t fall/sit that nicely.
I’m not sure if it suits me though. The first time I put it on to wear to work I immediately took it off. But that same night when I put it on to take photos I thought it looked fine. I think maybe I’m not used to such a deep V.
Things I learnt:
- Avoid making cut lines fall on the thick lines of the dot and cross paper
- When sewing v-necks sew the V first then attach the rest of the neckband.
- Buy a clear foot for the Gloria so I can see what’s happening under the presser foot
- Use water soluble thread to secure hems on knits instead of wondertape
Categories: Sewing

Leave a Reply