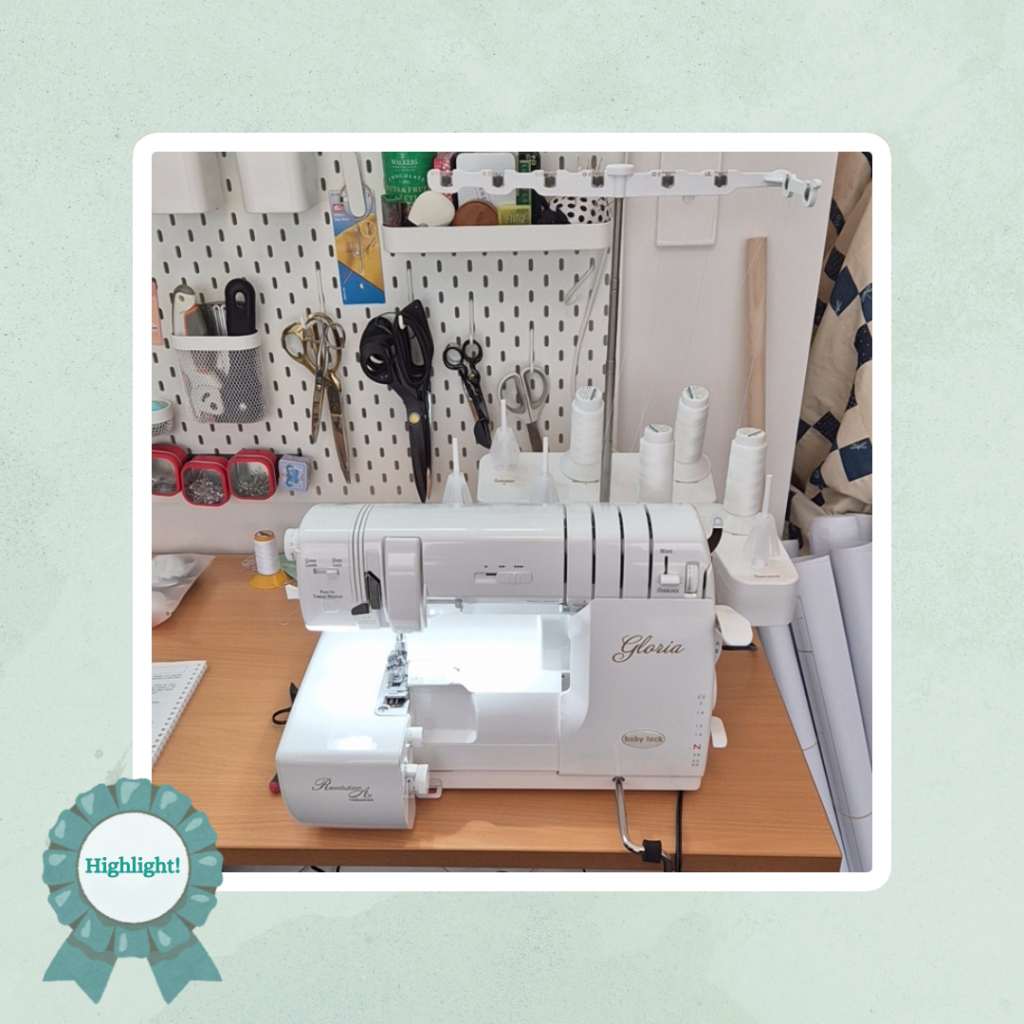
In order to make space for the Gloria I ended up doing a pretty big clean-up of my sewing area and thought I should probably tackle the huge mending/modification pile I have 😅 A fair few were things I was putting off because I didn’t want to rethread the overlocker so figured it could make good practice.
Modify T-shirt Lengths
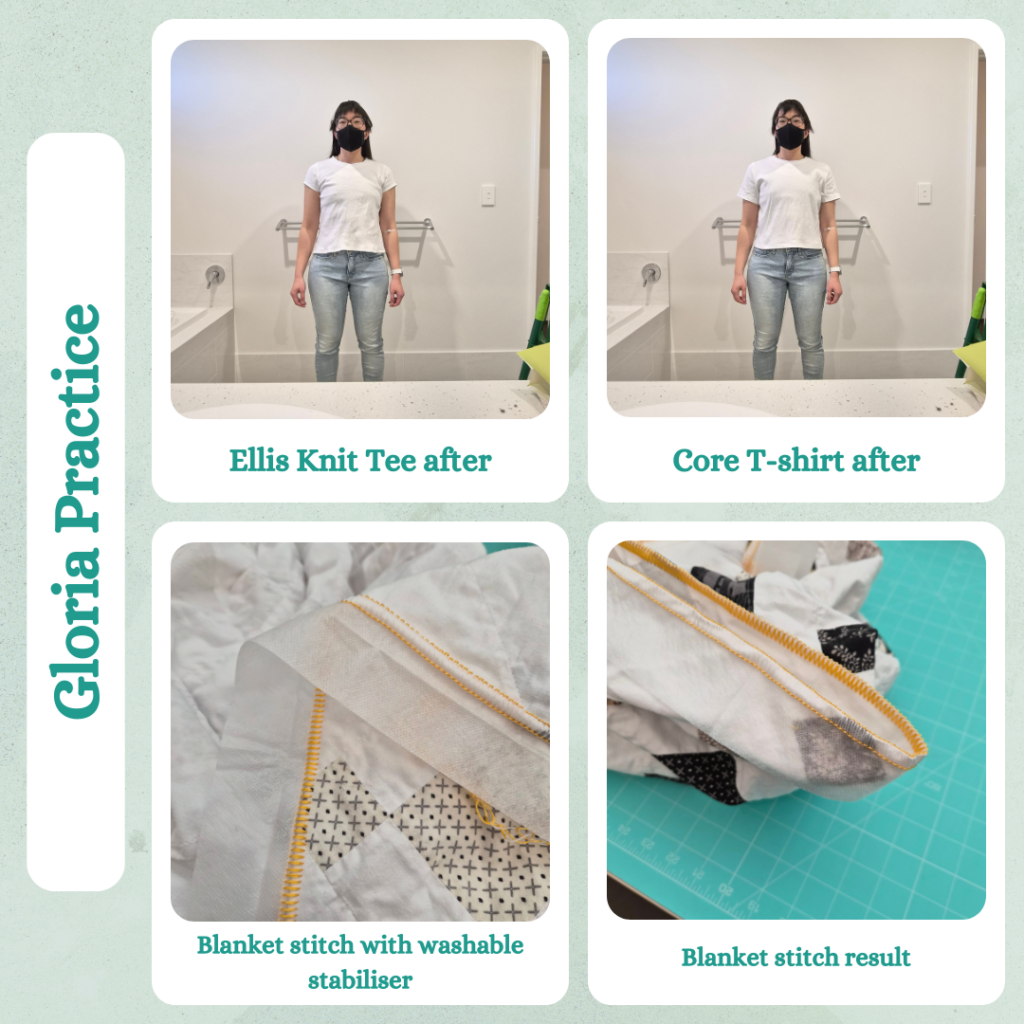
Two of the white shirts I made as part of the T-shirt Investigation need to be shortened. The first was the Core T-Shirt (Long), which I wanted to make into the cropped version. The second was the Ellis Knit Tee which just needed to be shortened (3.5cm).
The Gloria practice was with a normal 4-thread overlock with wooly nylon on the loopers, something familiar for testing. I didn’t put the thread netting on the wooly nylon this time but I will in future because I could see it twisting from the thread tower thing. The Gloria seemed to freeze up when it got to the seams, but turning the handwheel helped it get through. I think this might actually be because I was going slow? 😅 Like if I went faster it would maybe have more momentum? Dunno. I’m too scared to zip through yet.
I also used Heat n Bond Soft Stretch Fusible Web Adhesive for the Ellis Knit Tee. Basically I’m abandoning the double turn narrow hem for knits. I realise now that my hems will never lay flat without ironing if I double fold them. So instead of having a 1cm wide hem I have a 1.5cm wide hem which should hopefully help keep things down.
I partially didn’t use the coverstitch function this time because I wanted to use the normal overlock function, but also because I wanted the hem stitching to match the sleeve hems (1 row Maraflex). But it would be a lot faster if I used coverstitch since I wouldn’t need to do two lots of stitching (overlocking, then hemming).
Blanket Stitch Hems
I love blanket stitch and I was given some free decorative threads with the Gloria purchase so was pretty keen to try this method out, although I had to psyche myself up for it since it was completely different to anything my overlocker could have done. But good practice at looking up how to thread things differently. The bit that stumped me a bit was having to put the needle thread through the looper hole but not through the looper itself. It felt weird switching from threading mode to serging to release the tubes so I could pull the thread out, but now I know it’s a thing (it was in the instructions but my brain didn’t really parse what it was telling me to do because the whole process was so foreign).
I was faiiirly certain I had water soluble stabiliser but I did have to completely empty my embroidery stabiliser box to find it. I did the math to figure out how narrow I had to cut what I had to go all the way around the blanket. I wasn’t really sure how the blanket stitch method would work around corners, so I did two parallel sides and pulled those the right way and then tried very hard to stitch the other edges without cutting off the thread tails from the previous stitching…I was successful until the very last one lol. I wasn’t sure how well it would hold so washed away the stabiliser just at that corner first, to see if I needed to use fray stop or something to secure the cut ends…(I didn’t so into the washing machine it went). After the stabiliser was removed, some parts had the blanket stitch look going nicely but other parts were not haha. But I’m satisfied with the result given it was my first time trying this method.
This was a good second project because of the long edges to stitch. Previously I would go really slow because I was scared something would get out of whack but because the edges were so long I automatically ended up pressing the foot to go faster and turns out it’s ok 🤣
Modify Marlo Neckband
Very excited for the 5-thread safety stitch, this will probably be what saves me the most time in future knit projects. The long part was pinning the neckband to the sweater, I failed to match up the 8th markings so many times, I was starting to get frustrated. But once it was pinned (making sure to keep them parallel not perpendicular because I’ve heard enough horror stories about pins and overlocker blades) the sewing process was as simple as expected.
I learnt that I need to set the stitch length to 4 and the chain tension to 0 to chain off a chain-stitch (I didn’t do this the first time and I could tell something didn’t seem quite right…it was because the chain-stitch forms a much shorter chain than the overlocker-stitch so they were getting more and more offset the more I chained off). To make things easier I’ll probably just always keep the stitch length at 4??? 🤣And also to set the stitch width to M for accurate seam allowances. Looks like if I align the fabric with the right edge this gives me 1cm seam allowances. And then if I want 1.5cm seam allowances I can align with the markings on the cover plate.
Coverstitching was a bit harder because of the bulk. The knee lift doesn’t take the presser foot as high as my Janome Skyline one does so it was tricky getting the fabric under and then even trickier getting over the seams. When I was looking at Gloria accessories I saw that they have a seam bridge (which is like an upgrade on a hump jumper I guess? This is what I’ve been needing for my issue with stitches skipping coming ‘down’ off a high point on things like the Stevie Jacket) which sounds like a good investment, especially if I want to sew denim. For this project I used my hump jumper as best as possible. The underside does not look neat but given this is a knit, the ‘anti-fray’ aspect isn’t the important bit, the topstitching is. To be honest I’m pretty down on long cardigans, I feel like I haven’t had a good run with both the Balloon Cardigan and Marlo Sweater…
Not related to the Gloria but I did have to also do the buttonholes and resew the buttons on too. I used the guide but the top button looks to not be evenly spaced compared to the others??? Good thing I don’t really care since I’m so down on this garment LOL. I’m hoping it ends up being useful so I don’t regret using my GEC brushed fleece on this 😅
Redo Pointelle T-Shirts
Unpicking this was a project in itself since I like to topstitch all my seams down. Partway I did wonder if it was worth it because the fabric doesn’t seem that high quality, but I do like the fabric and it will be to use for practice, less stress if things don’t work out. I will buy a overlocker seam ripper though LOL. During the unpicking stage I also wasn’t very happy with how much the black cotton tape had already faded. So I might invest in some fancy French cotton ribbon instead…
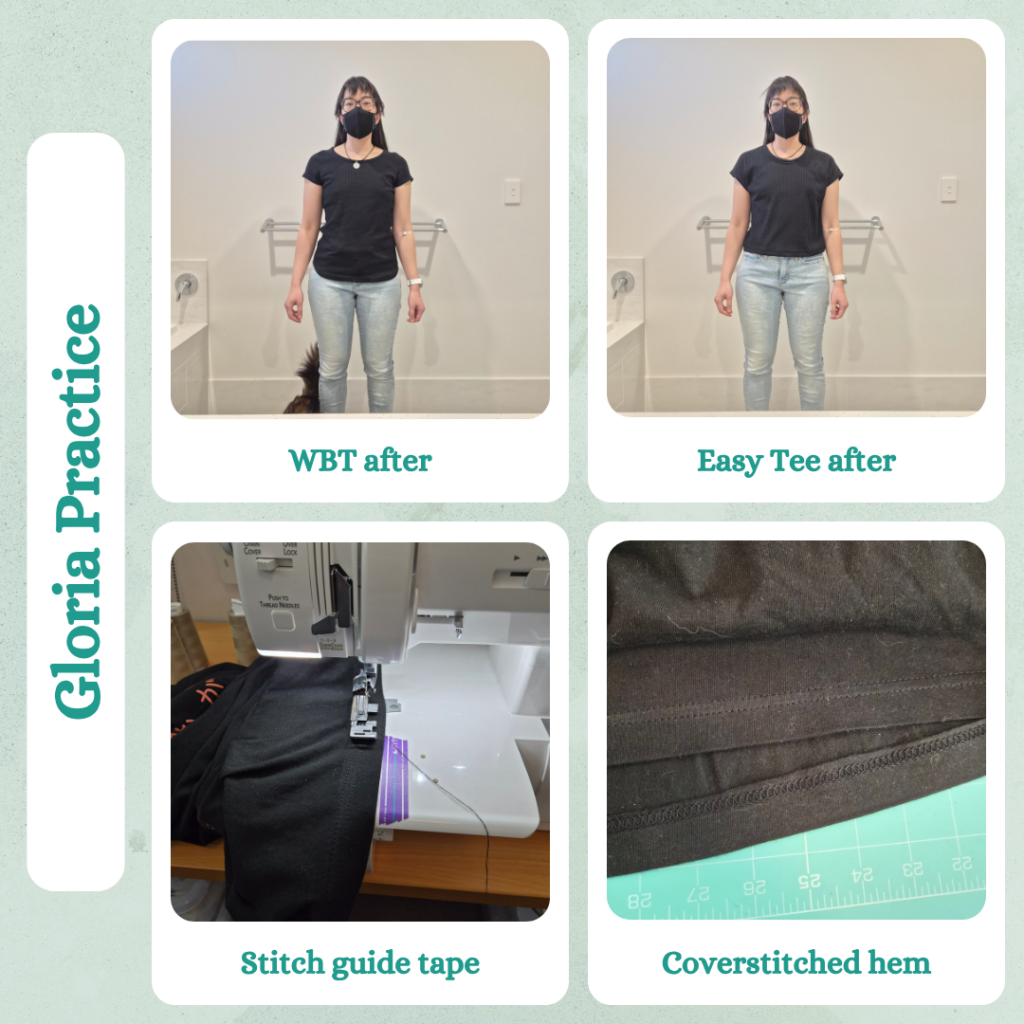
I shortened the Easy Tee 9.5cm and used the Heat-N-Bond stretch fusible tape for the WBT hem and both sleeve hems. I did the binding method, reusing the old collar bands, since I’ve learnt a bit now about what main fabric makes for a good collar and this ain’t it. I accidentally attached the Easy Tee binding to the front instead of the back so just went with topstitching it down from the front, the correct method is much nicer and neater.
I realised while reassembling these t-shirts that I need to get into the habit of immediately changing the chain looper tension from 0 (after chaining off) to 2… I also tried ‘pinning’ with wonder clips instead since a lot of people recommend this and I don’t like it so parallel pins it is.
Since these were t-shirts I needed to learn how to coverstitch in the round and found this video very helpful. I used my allen key like they suggested at first but then decided to try my By Annie’s stiletto, but realised the sharp point meant it would get caught in the fabric so that was a bad idea haha.
Coverstitch T-Shirt Hems
After getting some practice in, I tackled hemming my bro’s Madoka t-shirts that he wanted shortened. This time I put down some Seam Guide Washi Tape. Of course things didn’t go smoothly and I learnt a couple of extra new things 😅 Firstly, the netting is important on the wooly nylon thread, but equally important is checking it every now and then to make sure the netting hasn’t moved upwards due to movement of the machine/thread. Because mine ended up moving all the way off and my thread got caught further down the machine. Luckily I could tell the machine sounded different and checked the stitches and realised the tension was wrong and went looking for the cause.
Also when I watched the video on how to coverstitch in the round, I kind of missed the part where she trims the start of the threads before overlapping. In hindsight (and after having them get tangled), of course I should trim them. But I think I was worried they would unravel.
Reflections
This was a good project because I feel a lot more confident both threading and using the Gloria and now I have a lot more clothes to wear and the mending pile is down to one item (needs a zip replaced, so not a Gloria job). I’m super excited about using decorative threads and have purchased swatch guides for the Wonderfil range.
As for the garments:
- The Ellis hem isn’t straight, which is what happens when you measure from the current hem. I’m not too fussed though, I think I don’t like this t-shirt as much as I thought I did. The WBT is much more comfortable and pretty similar fit wise. So the Ellis pattern might get retired
- I kept forgetting that the second white t-shirt was the Core and kept thinking to myself how nice the silhouette was LOL. So Core t-shirt is still my favourite. I have like 5 other versions planned in different fabrics (fabric investigation instead of pattern investigation)
- The Marlo Sweater is much nicer with non-ribbing neckband. I actually quite like wearing it! Probably a big part of this is due to the fabric. And as expected I don’t notice the messy under-coverstitch. And the unequal button separation has grown on me LOL. I notice it every time I see myself in a mirror and instead of making me feel down it makes me amused 🤣
- I’m happy the WBT collar now sits flat. Will be wearing this one until it fades/stretches out. I’m not really sure what fabric to use to replace it though…
- It’s crazy how much more the Easy Tee suits me after cropping it. I really like the pattern now! To the point I feel like I almost don’t need to bother investigating the Cachet Tee more or learning how to recreate a pattern from my Gintama dolman t-shirt that I’ve saved because I liked the fit so much.
Categories: Sewing

Leave a Reply